Monday, March 8, 2021

Skirmish at Silver's Creek (Legends of the High Seas AAR)

Turn 1: Forces deployed
This is the stirring conclusion to a three-part series dedicated to saving Prince Adam.  In the first installment (http://redcoatsandruffles.blogspot.com/2020/04/through-woods-legends-of-high-seas.html), Prince Adam was left for dead while his wife Belle escaped.  She rallied a small force of allies, located and finally retrieved Adam, who had survived his wounds (http://redcoatsandruffles.blogspot.com/2020/09/saving-prince-adam-legends-of-high-seas.html)  After finding Prince Adam, the allies have to escort him to safety, a task made far more difficult when Gaston visits a British encampment for reinforcements.


With Major Phillips still recovering (see http://redcoatsandruffles.blogspot.com/2019/11/skirmish-at-turnbulls-farm.html), the young and impetuous Lieutenant James Brampton agrees to lead one company of the 43rd to Silver's Creek with Gaston.  If King Roland II is in the area, his capture would be a significant accomplishment for the young lieutenant.  A handful of Volunteers of Ireland tag along to act as guides.

Unknown to everyone, a patrol of Continental Light Infantry is also in the area, hiding in the heavily-forested region.

Colonists and Allies: King Roland II, Queen Miranda, Steward Baileywick, Sir Bartleby, Belle, Adam, and Enchancia Royal Guard.  12 Continental Light Infantry under Captain Duckworth are available as reinforcements. (20 in all)

Turn 6: Continentals appear
British and Allies: Gaston, 9 mobsters, 6 Volunteers of Ireland, 12 privates of the 43rd Regiment of Foot, Lieutenant James Brampton. (27 in all)

(Scenario is "Crossing the Silverlode" from Lord of the Rings: Strategy Battle Game.  Naming it Silver's Creek is a play on the original title, as well as a salute to the most famous pirate of all.)


The first five turns saw the rescue party putting as much distance as they could from their pursuers.  By Turn 6, the Light Infantry had appeared in the forest.  Lieutenant Brampton engaged Baileywick in combat.  Baileywick defeated him and pushed him back, but could not wound him.

Turn 7: Baileywick vs. Brampton

The Light Infantry shot a Volunteer of Ireland in Turn 7, but Brampton also killed Baileywick.  Turn 8 saw Gaston determined to get into the action early and not repeat his passive performance from last time.  He paid for it as Captain Duckworth dispatched him with ease.  Lieutenant Brampton killed a Light Infantryman.

Turn 9: Light Infantry holds the line

By Turn 9, the action was hot and general.  Brampton used a Might point and took down another Light Infantryman.  The Light Infantry retaliated by killing a mobster.  Captain Duckworth was charged by two of the mob, but with a might point, he used his two attacks to lay them both low.


Captain Duckworth continued to hold the line, killing another two of the mob, as the refugees headed for safety.  Perhaps running the lightly-armed and defended mob into such a mighty warrior was a grave mistake.

Turn 11 saw Duckworth and the Light Infantry combine for 2, while Brampton and the mob did the same.

Turn 11: "Forward 43rd! They shall not escape!"

Turn 12 saw the first escapee: Sir Bartleby of Enchancia.  Throughout the fight, he had acted on the advice that discretion is the better part of valor.  It finally paid off here.  One escaped, three to go.  Elsewhere a Light Infantryman went down.

Turn 13 saw the most important Priority break for the Continentals (the previous 5 turns had all been British).  With it, Prince Adam and Belle escaped, the (unofficial) goal of the past three scenarios.  But in order to win the scenario, two more refugees would also have to evade their pursuers.

Turn 13: Prince Adam and Belle reach safety

Elsewhere on the field, Duckworth dispatched another mobster.  Apparently they still have not learned to avoid him.  The other important action this time was the duel between King Roland II and Lieutenant James Brampton, 43rd Regiment.  Roland had been protecting the refugees with his two attacks and two might points.  If Brampton could eliminate him, he could mop up the lightly-defended refugees.  With a mighty effort, Roland surmounted his opponent's fight value and inflicted two wounds.  It was only a matter of fate that Lieutenant Brampton lived to see another day.

Turn 13: Red coat vs. Redcoat

With Turn 14 and Miranda's escape, the refugees had won by the letter of the rules: evacuate 4 characters.  But what of the other three survivors, not to mention the Light Infantry?  The battle was far from over.

Two more escaped on Turn 15, and Captain Duckworth killed another mobster.

The Volunteers of Ireland landed a lucky shot on a Light Infantryman.  Elsewhere Roland and another Light escaped.  The mob accounted for a third Light, and Duckworth avenged the shot by dispatching a Volunteer of Ireland.

Turn 17: Duckworth alone in a sea of red
Turn 17 and only Captain Duckworth is left on the field.  He has given such an account of himself that no quarter will be given by the enraged British.  Instead, he must escape to survive.  The British attempt to box him in, but he downs a soldier of the 43rd, then repeats the procedure in Turn 18.

Turn 19 is another crucial priority shift, as Captain Duckworth gains priority and heads for the edge of the board.  The British swarm him in the next turn and inflict a wound, which he is fated to receive.  One wound left.  Can he make it before he is overwhelmed by numbers?

Turn 19: Duckworth and Brampton survive

He does!  Captain Duckworth hurries off the board edge, while Lieutenant Brampton is secretly glad to draw off and lick his wounds.

The Continentals suffered 11 casualties from their initial force of 21, including Steward Baileywick.  7 refugees escaped, as well as two Light Infantry and Captain Duckworth.

The British suffered 14 casualties, including Gaston, of their force of 26.  The mob that followed Gaston was reduced to one survivor.

Lieutenant Brampton put in a solid performance, killing four enemies.  But Captain Duckworth was a terror in combat, accounting for 11 of the 14 British casualties.  Who knows what adventures are in store for them?

Wednesday, February 17, 2021

Sailor with Blunderbuss (Mars)


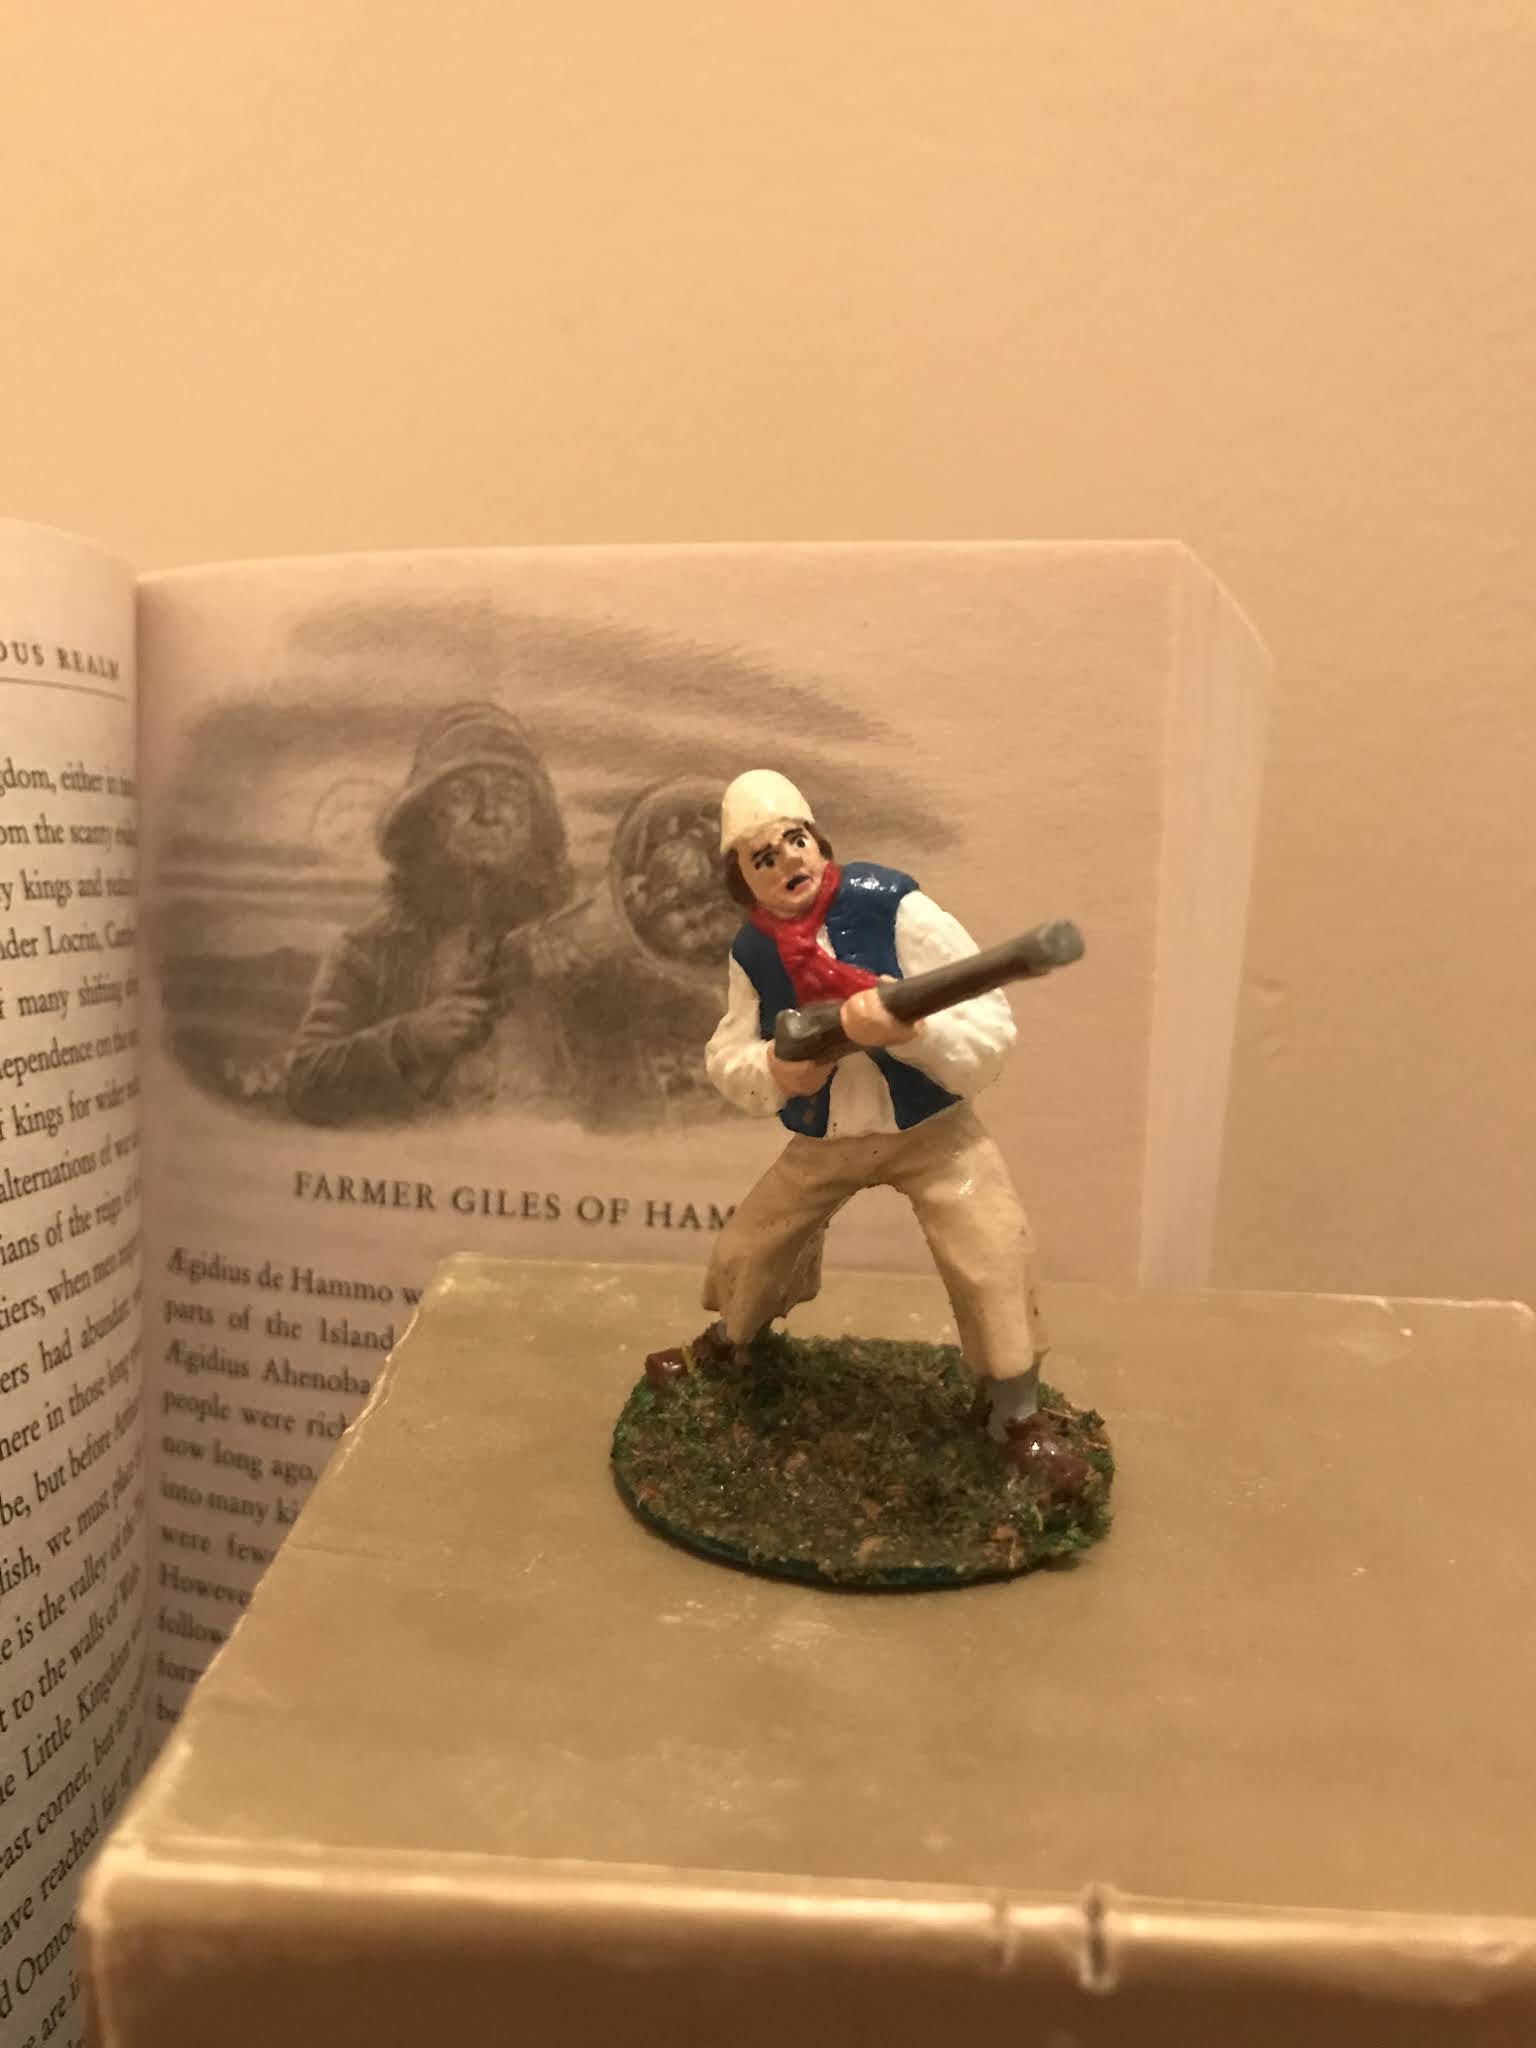
This jolly tar is one of eight figures released by Mars as part of their recent "Pirates of the Caribbean" set (mine was from https://www.michtoy.com/item-MAF-32020-Pirates_of_the_Caribbean.html)  Soon I will review the set all together, but I wanted to focus on this particular figure for now.

He wears long trousers typical of seamen from c. 1750 on.  His short unbuttoned waistcoat allows his shirt to be seen tucked into his trousers.  He wears a nondescript knit cap and a useful neck cloth.  Armed with a blunderbuss, he is ready to repel boarders.

Since he is a generic 18th Century sailor, he would be equally at home in King George's or King Louis' navy, as a pirate or a minuteman.  His versatility is his strongest selling feature.  In fact, you might consider purchasing Mars' Pirates of the Caribbean just to add this figure to your navies or militia.


But there is one other unusual use for him.

His pose is an excellent recreation of Alan Lee's illustration of Farmer Giles of Ham, the hero of the book of the same name by J. R. R. Tolkien.  At one point in the book, Farmer Giles picks up his blunderbuss against a trespassing giant.  Now you can recreate this scene with this figure!  I would recommend sculpting a beard, as Farmer Giles is described as wearing one.

Sunday, January 10, 2021

2020 Recap-Scenery

 In addition to painting twenty-three figures, who are showcased at http://redcoatsandruffles.blogspot.com/2021/01/2020-recap-painted-figures.html, I also completed twenty scenic items.


7 trees (only 6 are shown, but the seventh is just like the large ones)


6 crop rows.  I have no idea what these crops are.


6 household items, mostly from Marx recasts


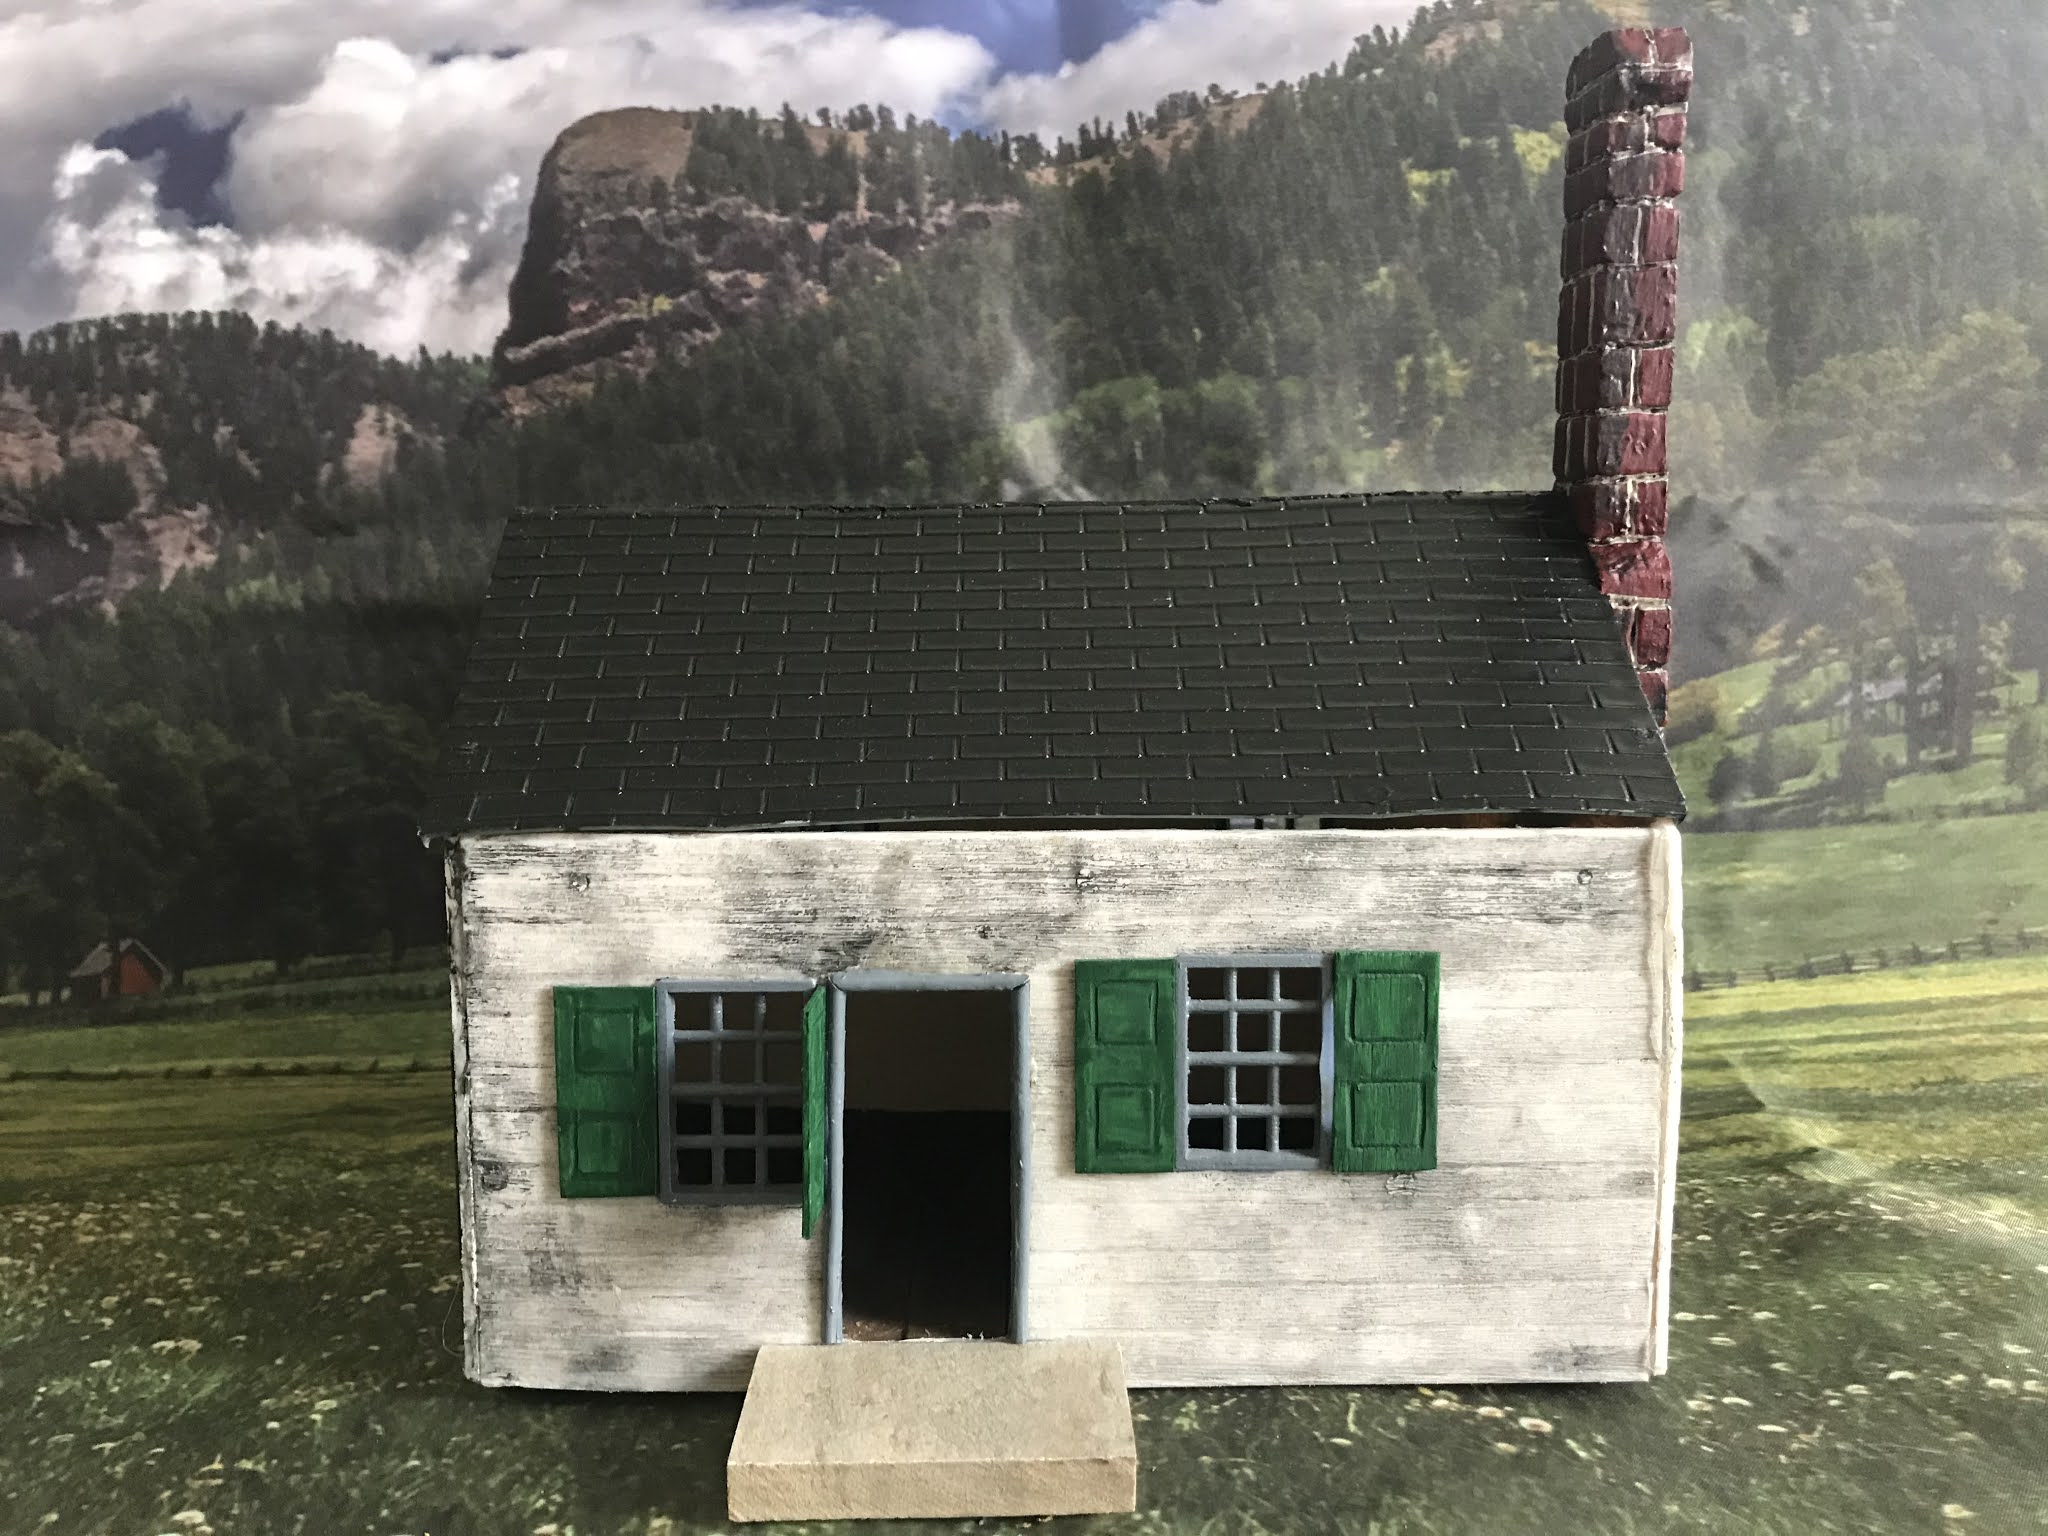
And most importantly, the BMC House (which previously featured in its own post here: http://redcoatsandruffles.blogspot.com/2020/05/bmc-house.html)

Sunday, January 3, 2021

2020 Recap-Painted Figures

In 2020, I painted a total of 23 new figures to add to Redcoats & Ruffles. 

From right to left:

4 new recruits for the 2nd Pennsylvania Regiment

1 new recruit for the Continental Light Infantry

4 civilians, including Henri Lefebvre (featured here)

2 members of King Roland II's court: his steward and a guard, who were previously featured here, and here.

3 new recruits for "Kemp's Greys" a (fictitious) bodyguard unit for an East India Company director (One featured at http://redcoatsandruffles.blogspot.com/2020/03/twos-company.html)

3 new recruits (including one commissioned officer) for His Majesty's 43rd Regiment of Foot

5 new recruits (including another commissioned officer) for the Queen's American Rangers

1 jolly tar for His Majesty's Royal Navy

I also painted 20 pieces of scenery, which will be featured in the next post.

Tuesday, November 24, 2020

Queen's Ranger (BMC)

Private Brian defends the fence

Following my review of Helmet Soldiers' muskets & pistols (at http://redcoatsandruffles.blogspot.com/2020/06/helmet-soldiers-muskets-and-pistols.html), I wanted to show off the completed Queen's Ranger who modelled the Brown Bess musket.


Meet Private Brian, named in honor of Brian Carrick (www.CollectingToySoldiers.blogspot.com) who was kind enough to admire the figure while he was still a work-in-progress.  


Private Brian is converted from a rather useless bayoneting upward BMC pose.  Instead of him bayoneting  horsemen (or flying insects), I melted his arms downward and added the Helmet Soldiers'  Brown Bess musket.  The resulting pose is typical of the 1740s drill manual "Charge Your Bayonets".  By the late 1750s, the preference was for the musket and bayonet to be waist-high.  However, I am sure that in the heat of battle, some soldiers reverted to the older style.  Even LOD Enterprises "Continental Soldiers" has a figure that is charging bayonet in the 1740s style (see photo opposite).

Figure by BMC, painted with a mix of acrylic and enamel paints.  Sealed with Hobby Lobby Matte Varnish.


Queen's Rangers defend a farmstead and fence rail as Continental troops attack.


Monday, November 2, 2020

Helmet Soldiers' Muskets and Pistols (Review)

BMC Queen's Ranger with Helmet musket

I enjoy doing conversion work on 54mm figures.  Many changes can be sculpted, like cartridge boxes, haversacks, and many kinds of hats.  But when it comes to firearms, it is easier for me to simply add a premade weapon than sculpt one.  Unfortunately, I have not found many companies that offer muskets for 54mm figures.  Helmet Soldiers offers muskets, pistols, and other weaponry for your troops.  Find them at http://www.helmetsoldiers.co.uk/weapons.html.

They offer both the French Charleville and the British Brown Bess, with and without bayonet.  Also they have a pistol that resembles the French An IX (Year 9) Cavalry pistol, though it is described as a "Universal" pistol. All come cast in a clearish white plastic.


 The Charleville musket (top) is approximately 67mm from butt to bayonet tip.  This makes it an excellent fit for soldiers at the taller end of the 54mm world (such as BMC).

The Brown Bess musket (bottom) is approximately 60mm from butt to bayonet tip.  It is smaller and lighter than the Charleville, which is slightly odd, considering that the reverse was historically true.  The Brown Bess' size means that it works well with smaller 54mm figures, like Marx, Accurate, or A Call to Arms.


The "universal" pistol is barely 12mm long and quite thin.  This makes it unsuitable for use as a dragoon or Sea Service pistol.  However, this size makes an excellent choice for a "muff pistol", a small, easily-concealed means of defense.

If your noblewomen need a defense against highwaymen, or your pirates would like an increase in their firepower, this pistol is an excellent choice. 


"Stubble Stan" (a BMC figure) wields one of their "universal" pistols in his right hand, with a Sea Service pistol in his left.  Hopefully this shows just how small the Helmet pistol is when compared to the other pistol.


Disclaimer: I am not sponsored or otherwise subsidized (including free product) by Helmet Soldiers.  I'm just one collector passing on knowledge to another.  Do make sure to check out www.helmetsoldiers.co.uk for these and many other fascinating products!

Wednesday, October 7, 2020

Attempted Assassination (Legends of the High Seas AAR)


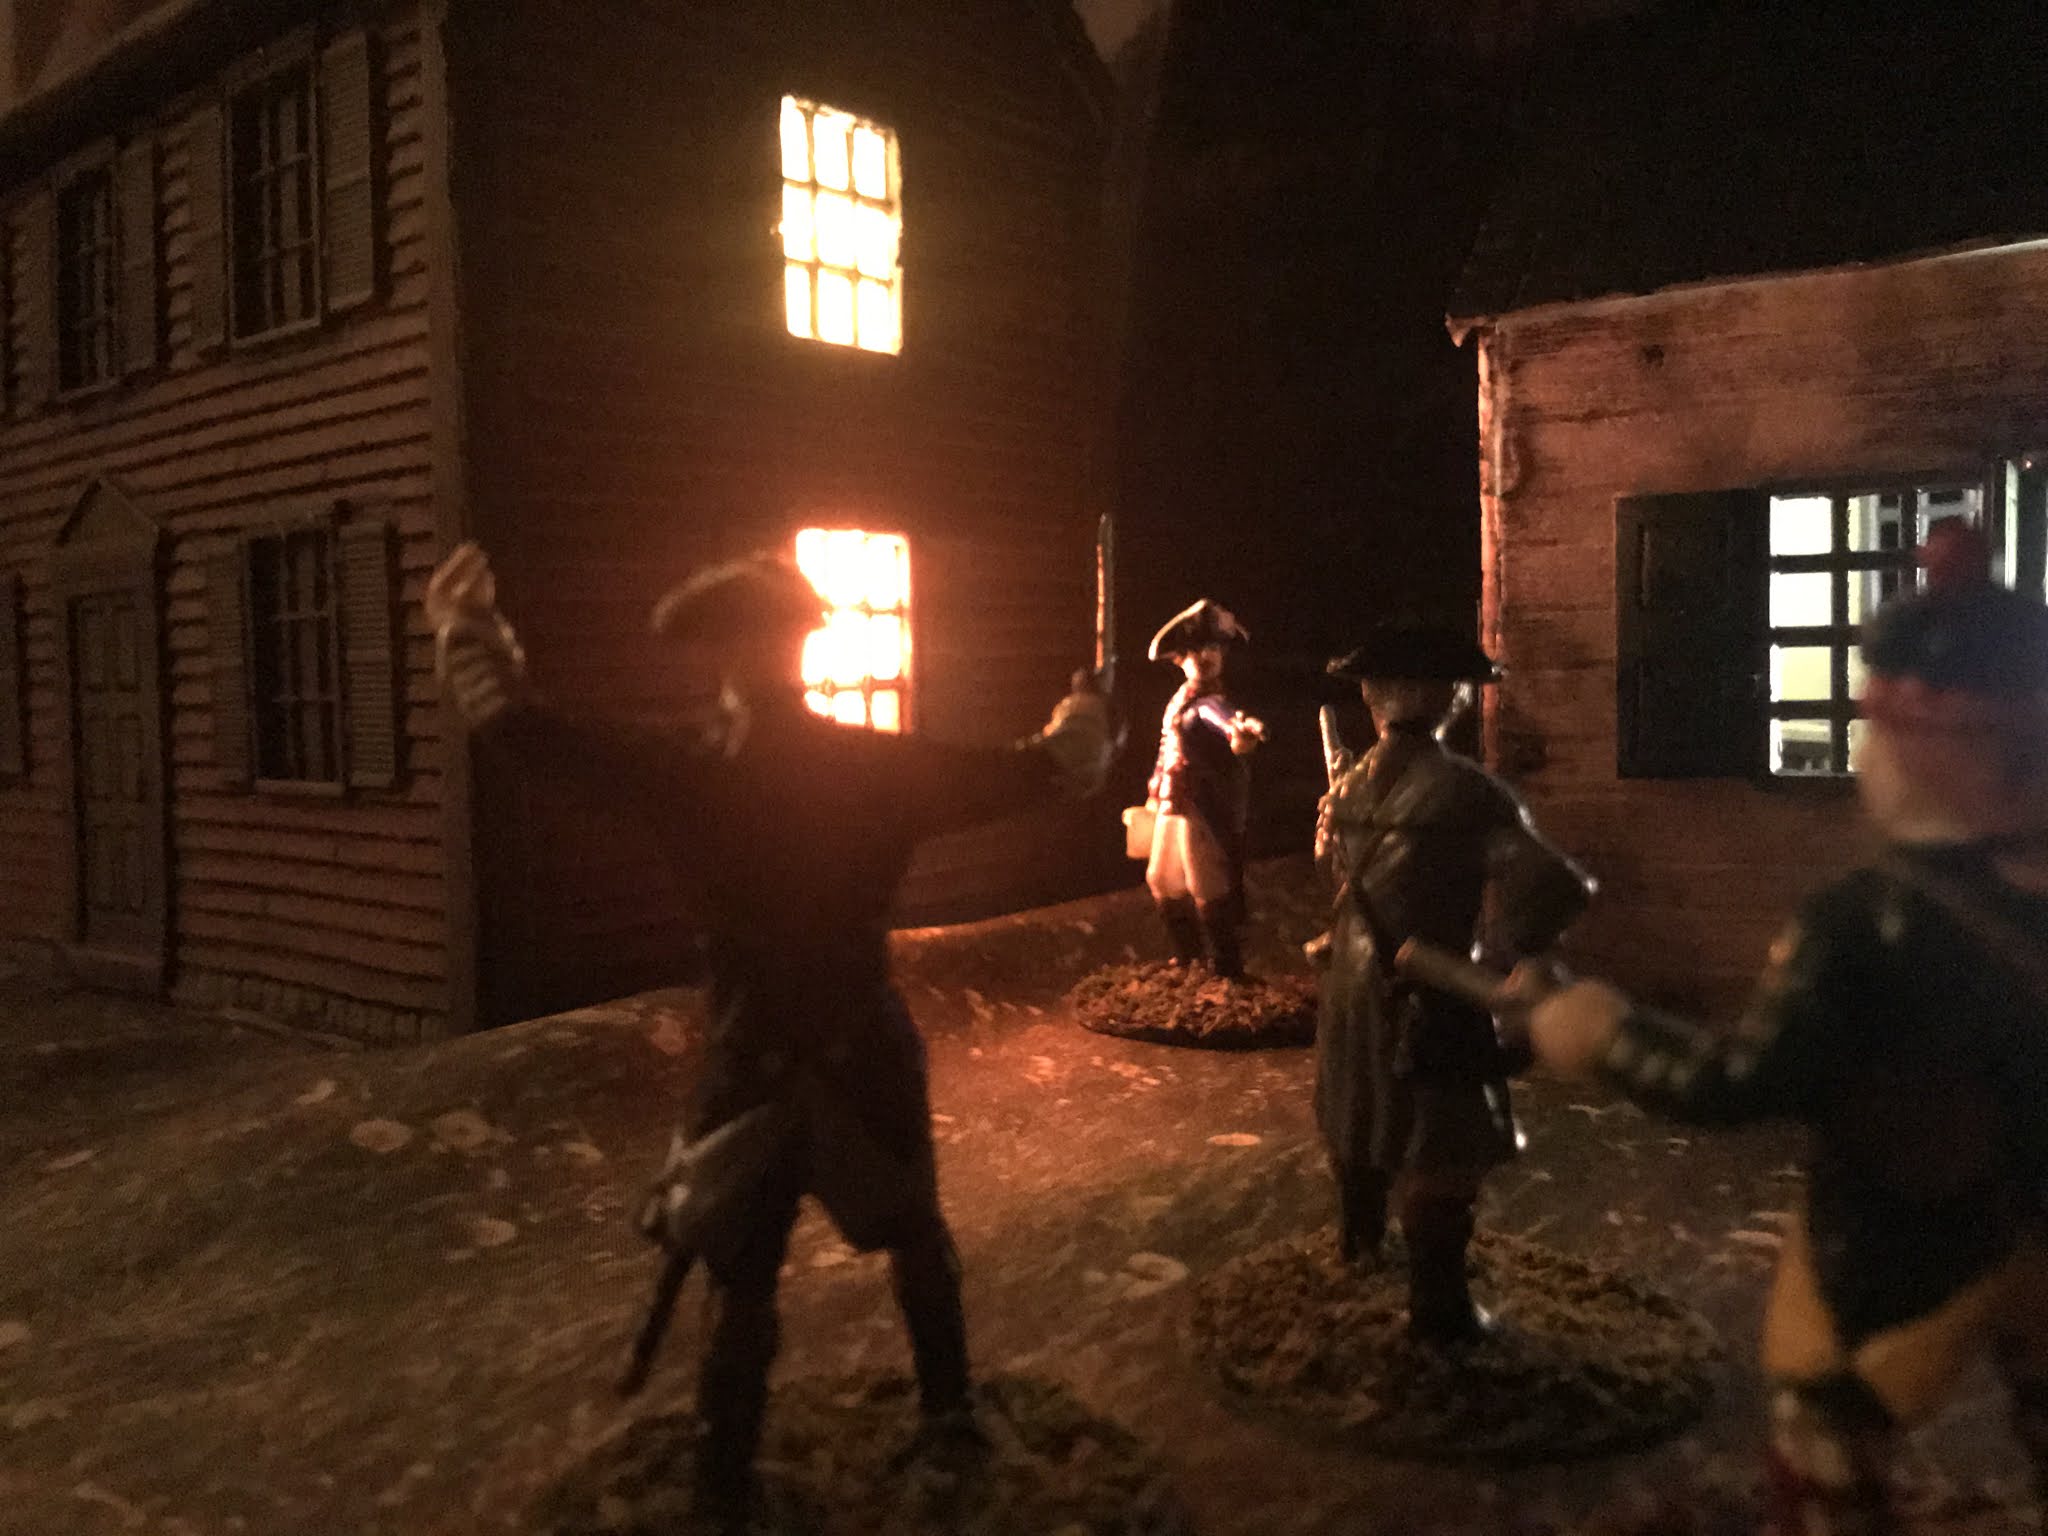
The 27th ult. [Editor's Note: Ult. means last month] Lieutenant Francis Merryman a defender of that celestial jewel LIBERTY survived an attack by those serpents in your midst, the TORIES.  As he returned to his lodging-house in town, he was set upon by three of those miserable miscreants.  He emptied the contents of his pistol into Mr. Richard Harrison, a notable landowner and Tory, who fell. 

Lieutenant Merryman withdrew into a nearby house, where he then shot another of his assailants.  Information just received suggests he may have been connected to that all-devouring HYDRA, the EAST-INDIA COMPANY.

The last man, a Highlander, assailed him with his broadsword and pistol.  He fought mightily but was not able to prevail against Lieutenant Merryman, who finally cut him down.


O ye friends of LIBERTY, are your wits so besotted as to allow these vipers, these TORIES, to spring up within your midst?  Gird on the implements of MARS and show these craven TORIES that the RIGHTS and LIBERTIES of AMERICA are not to be trampled by monarchs and base hirelings.


James Hiller, correspondent of the Pennsylvania Gazette


(Ruleset: Legends of the High Seas.  I tried a similar small-scale game with Muskets and Tomahawks which was a complete disaster.  Legends of the High Seas handled it very well, despite being designed for slightly larger skirmishes.  I look forward to trying other small-scale encounters with it.)