Showing posts with label After Action Report. Show all posts

Saturday, January 22, 2022

Village of Vigilantes (Legends of the High Seas AAR)

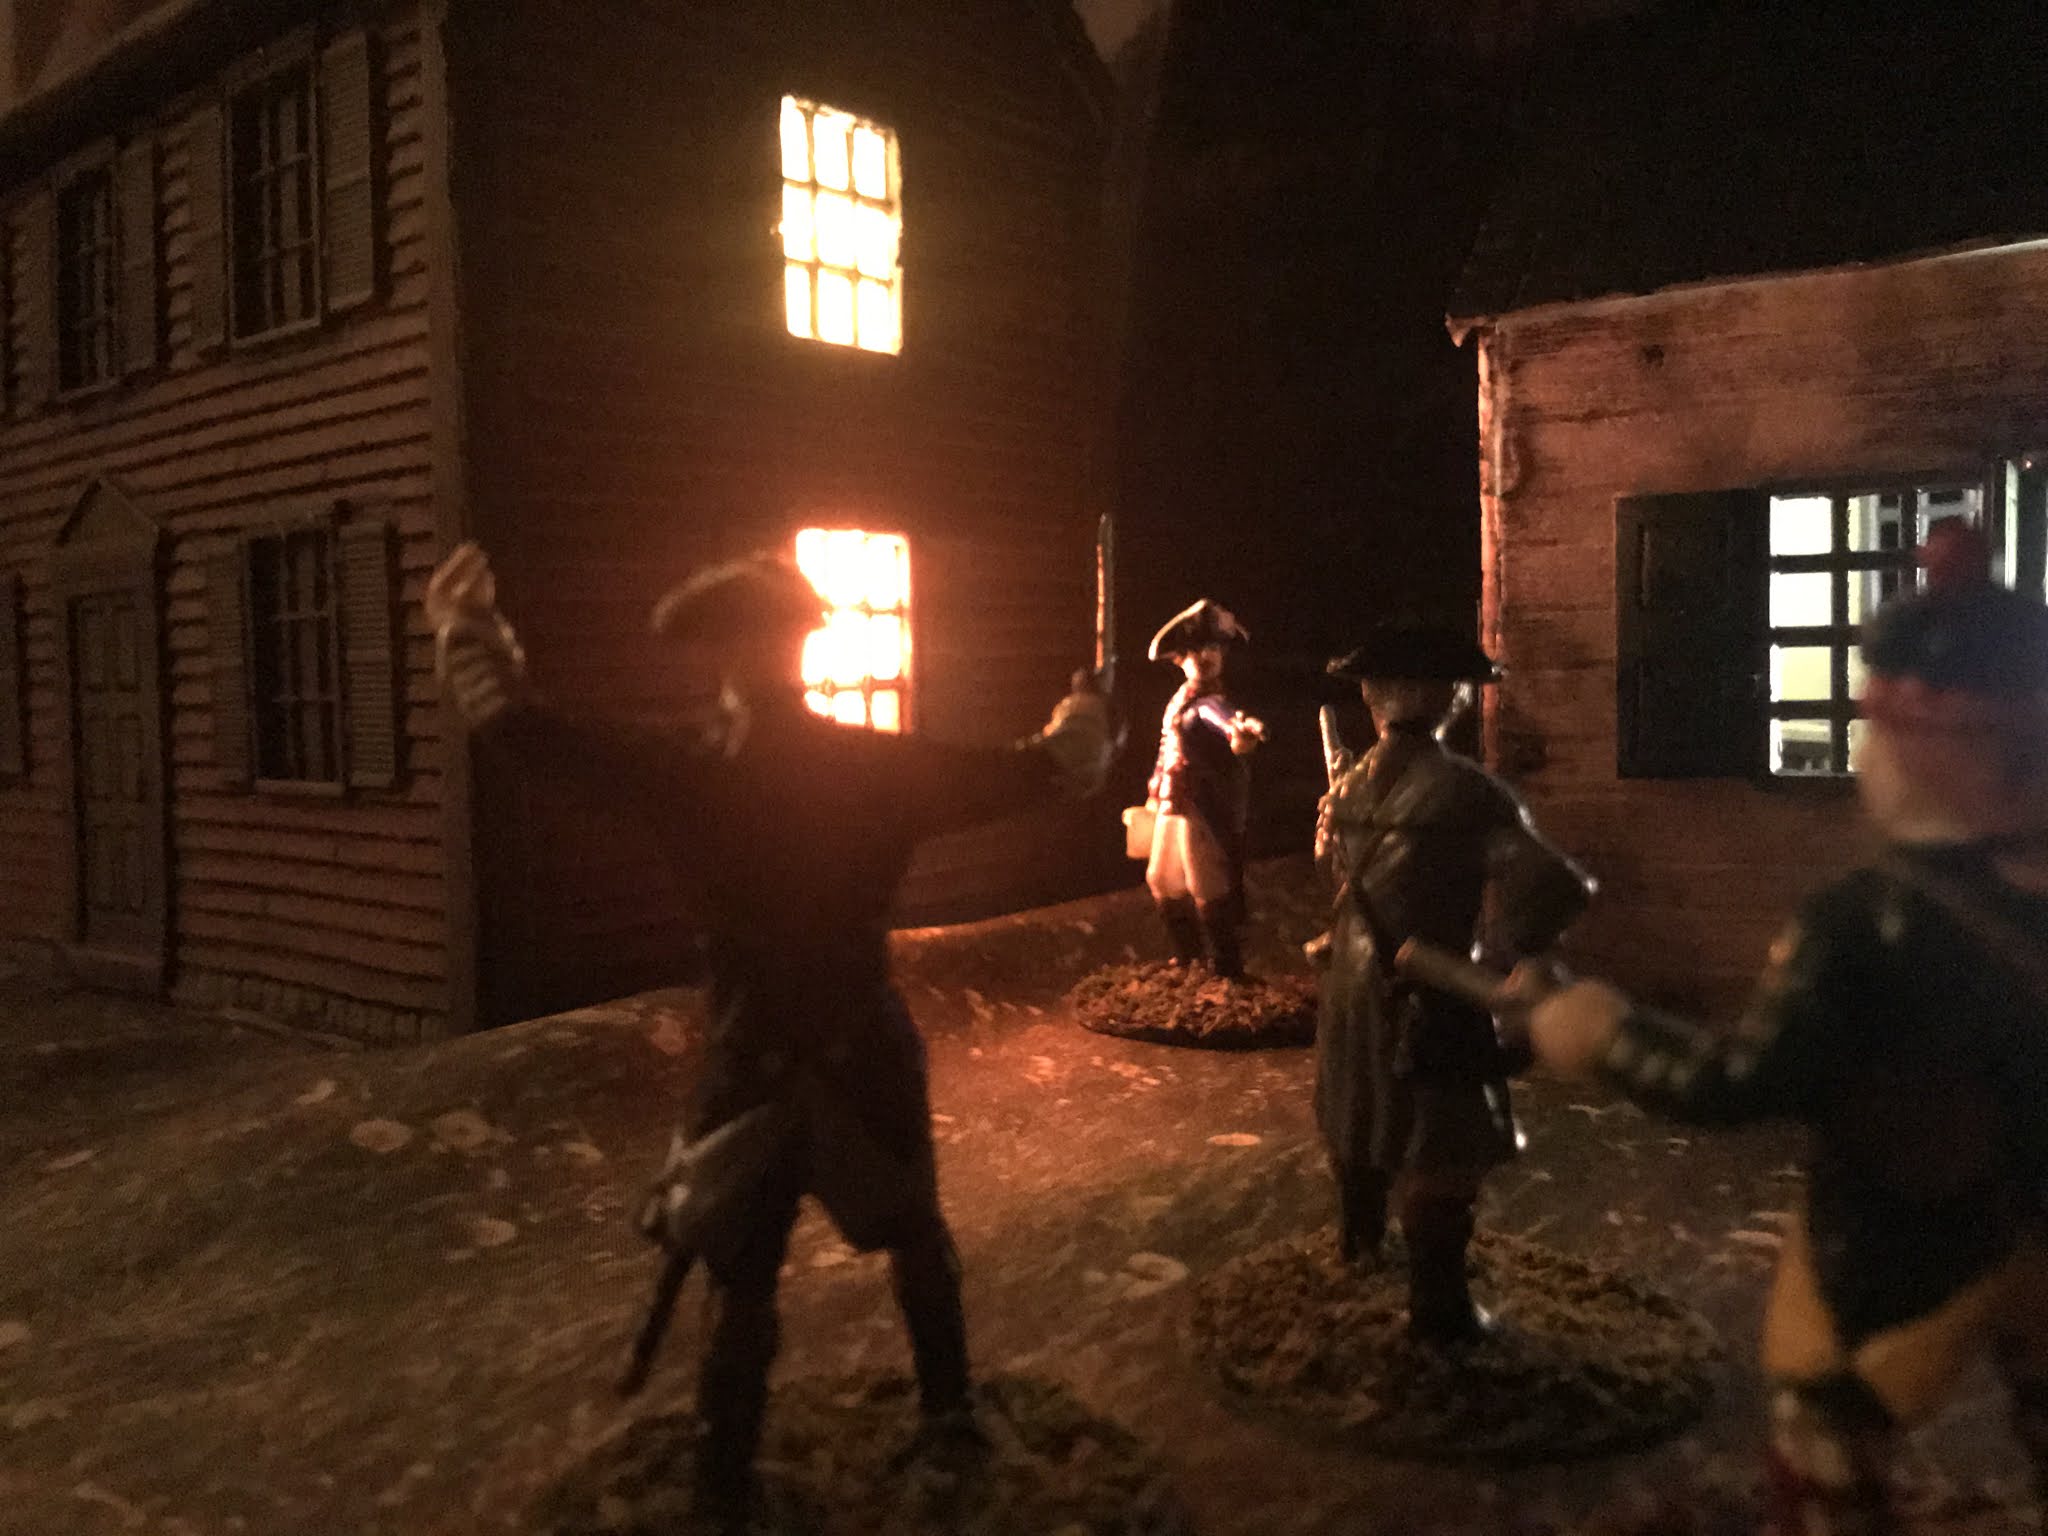
As darkness descends, a local Loyalist leader prepares to make his way home.  He has had a productive meeting with other Loyalists.  Now his concern is avoiding the small garrison in town, for "Richard Harrison, gentleman" has been proscribed by the Continental Congress.  Heading south through forested area is the best option for avoiding detection, though two pistols provide additional deterrent.


At the same time, though unknown to Mr. Harrison, Will Reynolds has finished his work for the day as a printer's apprentice.  None of his fellow workmen know that this is only a cover for his true passion in life: hunting servants of George III.  He has received an anonymous tip that a weapons cache for equipping Loyalists is located to the north.  Arming himself with his sword and a pistol, Reynolds is looking for trouble.

As both men prepare for action, five soldiers wander through the village where they have been billeted.  Their ammunition has been expended in hunting or having fun and no additional supplies have reached them.  The local civilians have become used to the soldiers in the area. In fact, this is the only effect that the war has had on them--so far.

Using the tree cover, Mr. Harrison moved halfway to his goal without any issues.  Meanwhile Reynolds had to dodge some curious sentries, which slowed his progress.  Finally, one sentry got close enough to Mr. Reynolds to discern that he carried weapons and was a person worthy of questioning.  The race was on, as the sentries decided that Mr. Harrison would be worthy of interrogation as well.


But Mr. Harrison was well on his way to disappearing from sight.  Doggedly, the sentries followed him.  One even pushed close enough to fight him.  This sentry was both courageous and lucky, as he struck Mr. Harrison and pushed him back.  Meanwhile, a cloud of curious spectators followed Mr. Harrison, somewhat impeding his movements.

The weapons cache could wait, as Mr. Reynolds joined the chase against Mr. Harrison.  Clever maneuvering brought Reynolds' pistol within range, and a shot nearly killed Mr. Harrison.  Apparently it was not Mr. Harrison's destiny to fall--yet.

With the safety of the forest looming, Mr. Harrison decided to focus on running and refrain from shooting his pursuers.  It was a mistake that would cost him dearly.  Will Reynolds cocked his pistol and shot.  When the smoke cleared, Mr. Harrison was down--so close and yet so far from his goal.  Before the sentries could properly investigate Mr. Reynolds, he had again disappeared into the shadows.

(Rules set used was Legends of the High Seas.  Scenario was "Sneak in or Out of Town", with civilian rules from "Kidnap the Governor's Daughter". Unusually, this was not a solo effort, as we pulled off a three-way game.  Sentries were controlled via sentry rules. We had tried a similar scenario with Muskets and Tomahawks and it was a disaster.  All players agreed that this was a satisfactory rule set and enjoyed using Might and Fate points.)

Monday, March 8, 2021

Skirmish at Silver's Creek (Legends of the High Seas AAR)

Turn 1: Forces deployed
This is the stirring conclusion to a three-part series dedicated to saving Prince Adam.  In the first installment (http://redcoatsandruffles.blogspot.com/2020/04/through-woods-legends-of-high-seas.html), Prince Adam was left for dead while his wife Belle escaped.  She rallied a small force of allies, located and finally retrieved Adam, who had survived his wounds (http://redcoatsandruffles.blogspot.com/2020/09/saving-prince-adam-legends-of-high-seas.html)  After finding Prince Adam, the allies have to escort him to safety, a task made far more difficult when Gaston visits a British encampment for reinforcements.


With Major Phillips still recovering (see http://redcoatsandruffles.blogspot.com/2019/11/skirmish-at-turnbulls-farm.html), the young and impetuous Lieutenant James Brampton agrees to lead one company of the 43rd to Silver's Creek with Gaston.  If King Roland II is in the area, his capture would be a significant accomplishment for the young lieutenant.  A handful of Volunteers of Ireland tag along to act as guides.

Unknown to everyone, a patrol of Continental Light Infantry is also in the area, hiding in the heavily-forested region.

Colonists and Allies: King Roland II, Queen Miranda, Steward Baileywick, Sir Bartleby, Belle, Adam, and Enchancia Royal Guard.  12 Continental Light Infantry under Captain Duckworth are available as reinforcements. (20 in all)

Turn 6: Continentals appear
British and Allies: Gaston, 9 mobsters, 6 Volunteers of Ireland, 12 privates of the 43rd Regiment of Foot, Lieutenant James Brampton. (27 in all)

(Scenario is "Crossing the Silverlode" from Lord of the Rings: Strategy Battle Game.  Naming it Silver's Creek is a play on the original title, as well as a salute to the most famous pirate of all.)


The first five turns saw the rescue party putting as much distance as they could from their pursuers.  By Turn 6, the Light Infantry had appeared in the forest.  Lieutenant Brampton engaged Baileywick in combat.  Baileywick defeated him and pushed him back, but could not wound him.

Turn 7: Baileywick vs. Brampton

The Light Infantry shot a Volunteer of Ireland in Turn 7, but Brampton also killed Baileywick.  Turn 8 saw Gaston determined to get into the action early and not repeat his passive performance from last time.  He paid for it as Captain Duckworth dispatched him with ease.  Lieutenant Brampton killed a Light Infantryman.

Turn 9: Light Infantry holds the line

By Turn 9, the action was hot and general.  Brampton used a Might point and took down another Light Infantryman.  The Light Infantry retaliated by killing a mobster.  Captain Duckworth was charged by two of the mob, but with a might point, he used his two attacks to lay them both low.


Captain Duckworth continued to hold the line, killing another two of the mob, as the refugees headed for safety.  Perhaps running the lightly-armed and defended mob into such a mighty warrior was a grave mistake.

Turn 11 saw Duckworth and the Light Infantry combine for 2, while Brampton and the mob did the same.

Turn 11: "Forward 43rd! They shall not escape!"

Turn 12 saw the first escapee: Sir Bartleby of Enchancia.  Throughout the fight, he had acted on the advice that discretion is the better part of valor.  It finally paid off here.  One escaped, three to go.  Elsewhere a Light Infantryman went down.

Turn 13 saw the most important Priority break for the Continentals (the previous 5 turns had all been British).  With it, Prince Adam and Belle escaped, the (unofficial) goal of the past three scenarios.  But in order to win the scenario, two more refugees would also have to evade their pursuers.

Turn 13: Prince Adam and Belle reach safety

Elsewhere on the field, Duckworth dispatched another mobster.  Apparently they still have not learned to avoid him.  The other important action this time was the duel between King Roland II and Lieutenant James Brampton, 43rd Regiment.  Roland had been protecting the refugees with his two attacks and two might points.  If Brampton could eliminate him, he could mop up the lightly-defended refugees.  With a mighty effort, Roland surmounted his opponent's fight value and inflicted two wounds.  It was only a matter of fate that Lieutenant Brampton lived to see another day.

Turn 13: Red coat vs. Redcoat

With Turn 14 and Miranda's escape, the refugees had won by the letter of the rules: evacuate 4 characters.  But what of the other three survivors, not to mention the Light Infantry?  The battle was far from over.

Two more escaped on Turn 15, and Captain Duckworth killed another mobster.

The Volunteers of Ireland landed a lucky shot on a Light Infantryman.  Elsewhere Roland and another Light escaped.  The mob accounted for a third Light, and Duckworth avenged the shot by dispatching a Volunteer of Ireland.

Turn 17: Duckworth alone in a sea of red
Turn 17 and only Captain Duckworth is left on the field.  He has given such an account of himself that no quarter will be given by the enraged British.  Instead, he must escape to survive.  The British attempt to box him in, but he downs a soldier of the 43rd, then repeats the procedure in Turn 18.

Turn 19 is another crucial priority shift, as Captain Duckworth gains priority and heads for the edge of the board.  The British swarm him in the next turn and inflict a wound, which he is fated to receive.  One wound left.  Can he make it before he is overwhelmed by numbers?

Turn 19: Duckworth and Brampton survive

He does!  Captain Duckworth hurries off the board edge, while Lieutenant Brampton is secretly glad to draw off and lick his wounds.

The Continentals suffered 11 casualties from their initial force of 21, including Steward Baileywick.  7 refugees escaped, as well as two Light Infantry and Captain Duckworth.

The British suffered 14 casualties, including Gaston, of their force of 26.  The mob that followed Gaston was reduced to one survivor.

Lieutenant Brampton put in a solid performance, killing four enemies.  But Captain Duckworth was a terror in combat, accounting for 11 of the 14 British casualties.  Who knows what adventures are in store for them?

Wednesday, October 7, 2020

Attempted Assassination (Legends of the High Seas AAR)


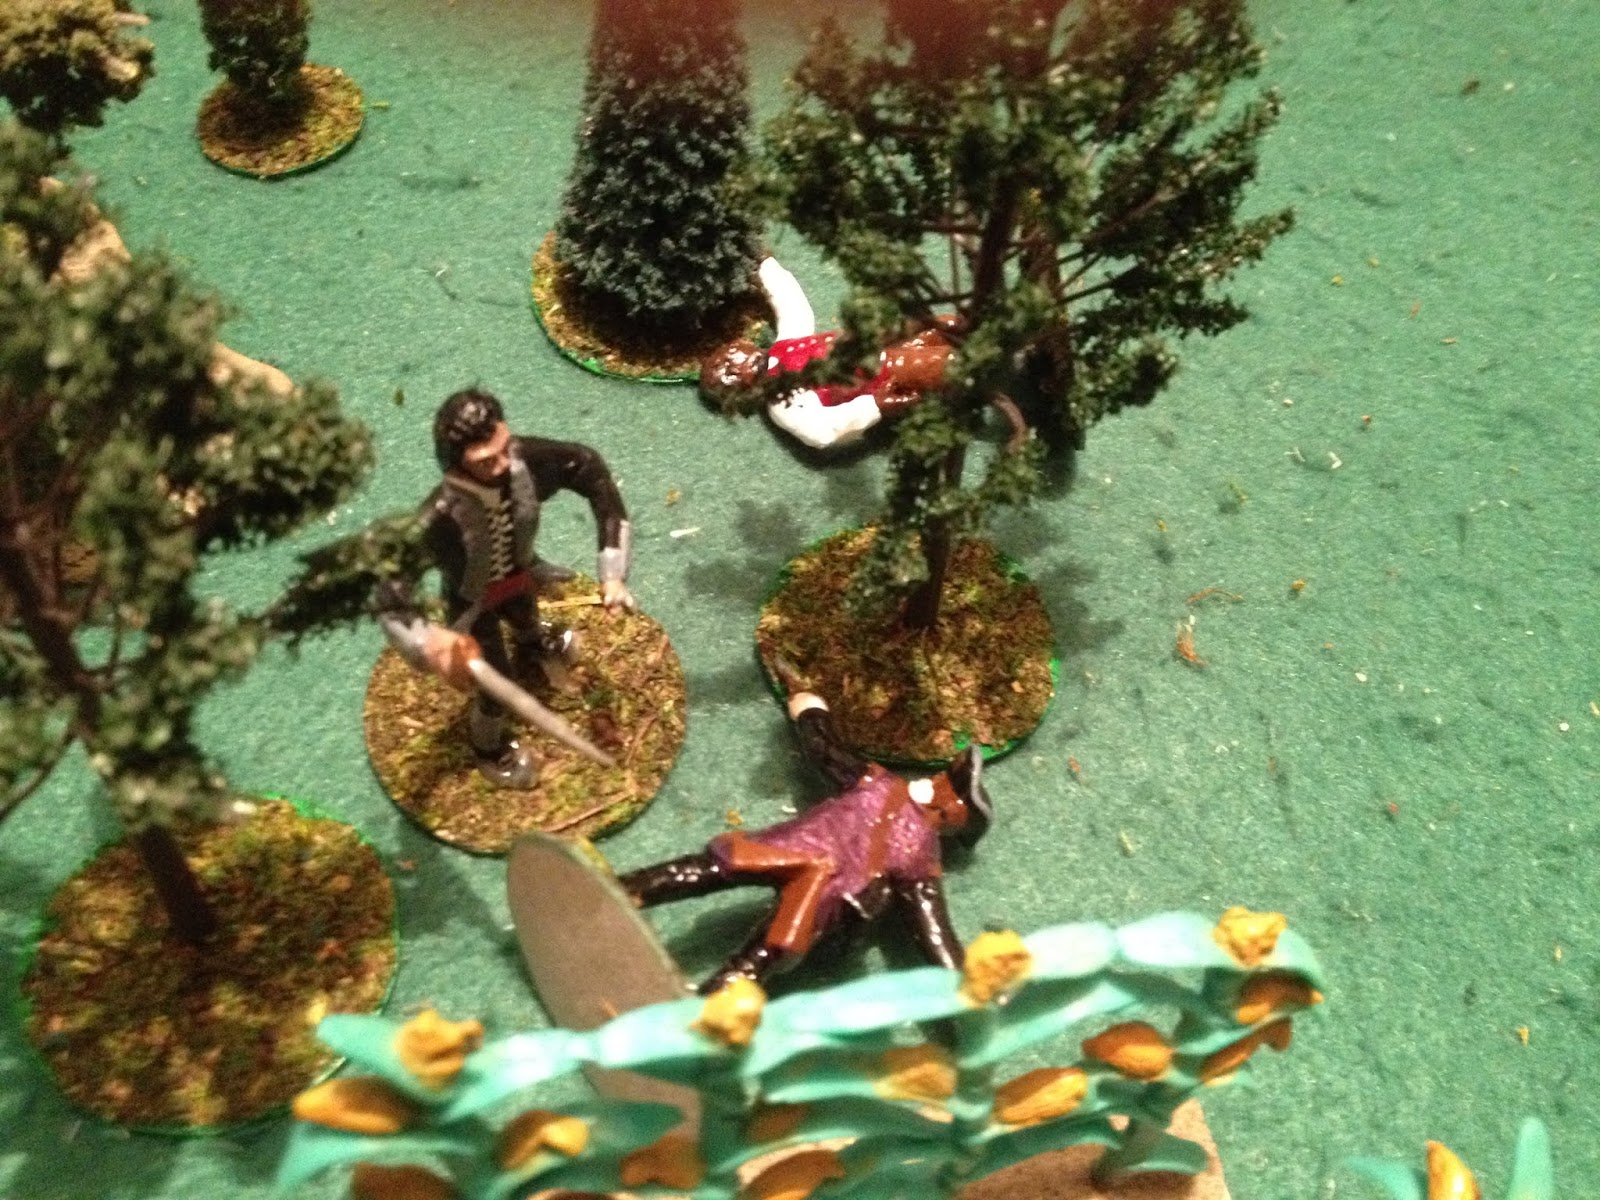
The 27th ult. [Editor's Note: Ult. means last month] Lieutenant Francis Merryman a defender of that celestial jewel LIBERTY survived an attack by those serpents in your midst, the TORIES.  As he returned to his lodging-house in town, he was set upon by three of those miserable miscreants.  He emptied the contents of his pistol into Mr. Richard Harrison, a notable landowner and Tory, who fell. 

Lieutenant Merryman withdrew into a nearby house, where he then shot another of his assailants.  Information just received suggests he may have been connected to that all-devouring HYDRA, the EAST-INDIA COMPANY.

The last man, a Highlander, assailed him with his broadsword and pistol.  He fought mightily but was not able to prevail against Lieutenant Merryman, who finally cut him down.


O ye friends of LIBERTY, are your wits so besotted as to allow these vipers, these TORIES, to spring up within your midst?  Gird on the implements of MARS and show these craven TORIES that the RIGHTS and LIBERTIES of AMERICA are not to be trampled by monarchs and base hirelings.


James Hiller, correspondent of the Pennsylvania Gazette


(Ruleset: Legends of the High Seas.  I tried a similar small-scale game with Muskets and Tomahawks which was a complete disaster.  Legends of the High Seas handled it very well, despite being designed for slightly larger skirmishes.  I look forward to trying other small-scale encounters with it.)

Wednesday, September 2, 2020

Saving Prince Adam (Legends of the High Seas AAR)

When Belle and Adam attempted to escape through the woods, Prince Adam was struck by Gaston and left for dead. (See http://redcoatsandruffles.blogspot.com/2020/04/through-woods-legends-of-high-seas.html)  Belle convinced King Roland II of Enchancia to lead a search party to recover Prince Adam.  Unknown to them, Gaston intended to find Prince Adam too...

Roland's force consisted of (from left to right) Royal Guard (Militia), Baileywick (Steward), King Roland (Governor), Sir Bartleby (Militia), Queen Miranda (Steward), and Belle (Damsel).

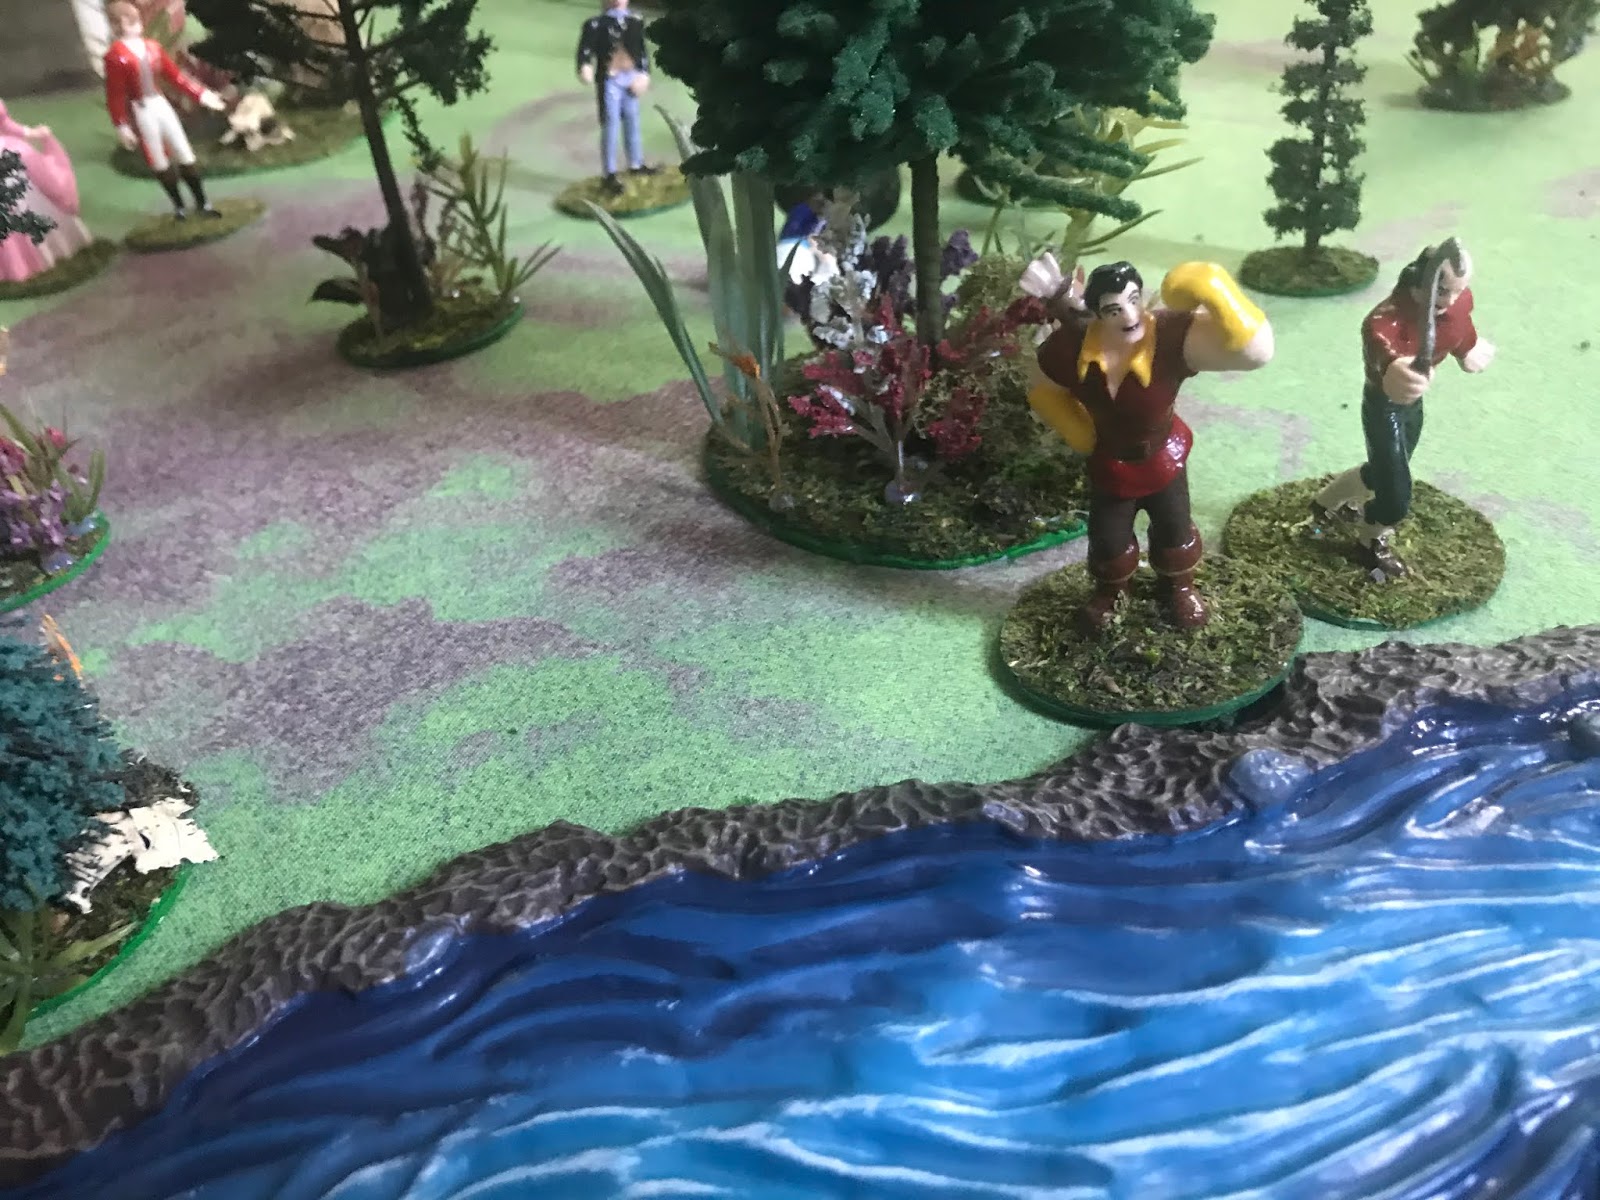
Gaston's force contained himself (Pirate Captain), 7 mob (Pirate Rogues), and hired gun Mr. Brand (Bounty Hunter).

Scenario was "X Marks the Spot" from Legends of the High Seas.  For solo play, I used a modified system found at http://davetownsend.org/Battles/LotR-20171221/.  Every time a marker is revealed, a dice is rolled.  On a 6, (or if the marker is the last one remaining), it is revealed to be the objective.

"Not here"


The first three turns had both sides make progress across the board.  In turn 4, King Roland revealed one objective: a decoy.  Turns 5, 6, and 7 showed all markers.  Gaston found Prince Adam first and began to drag him away!

Turn 7: Prince Adam is found and battle is about to begin!

In turn 8, hired gun Mr. Brand sniped at King Roland.  Unfortunately his pistol jams rather than firing.

Turn 9 sees the beginning of combat, as King Roland dispatches a mobster with club.


Turn 10 opens with Roland in Brand's sights, but his gun jams again.  Mr. Brand needs to "visit" whoever sold him such disgraceful armament or powder!  Baileywick is wounded by an axe-wielding mob who hews him with a cleaving stroke...but is saved by a lucky break.
Turn 10 and another jam!


On turn 11, Mr. Brand clears the jam in his pistol and Roland dispatches another mob member.


Turn 12 sees everyone into battle, except Gaston and his crony who are busily carrying Adam away.  The Enchancia Royal Guard takes a potshot at Gaston and misses.  In combat, Sir Bartleby falls and a shovel slashes at Queen Miranda, but it is not her fate to die now.


Turn 13.  Both mob casualties are the result of King Roland.


By Turn 13, only Baileywick is close enough to begin hunting down Gaston.  Roland charges to tie up the axe-wielding mobster, the only character who could intercept Baileywick.  Roland wins the combat, but only rolls a 3 to wound.  He uses 2 Might points to boost his roll and dispatch his opponent.  Another mobster (who looks suspiciously like James Hiller) retaliates by killing the Royal Guard, despite being outnumbered 2:1.

Turn 14: Is King Roland exposed to a flank attack next turn?
Turn 14, and Gaston's mob pitches in to their opponents.  Rogue James falls in his turn to Belle and Queen Miranda.  Way to go, ladies!  While he is the only casualty, this creates a threat to Gaston: his force must now take Rout tests because they have been reduced to 50% strength.


Turn 15: No attack!  Roland's opponents ignominiously run!
And the Rout tests begin in Turn 15.  Gaston passes, so his companion does automatically.  But Mr. Brand and the shovel-wielding mob turn tail and run.  Probably Mr. Brand is disconcerted by the repeated failure of his pistol.  Gaston's entire shield has dissolved, but he has a good lead to crossing the river and victory.


Turn 17: Biceps to spare...but not Might points! Run!
Gaston passes his Rout test again on Turn 16 as he edges his way toward the river and victory.  If he can cross it and exit, he will claim victory.  Everyone else is following them, but only Baileywick and King Roland are near enough.

On Turn 17, Gaston finally looks around the battlefield to see himself abandoned.  He rolls for his Rout test and rolls a "2".  Not even his might points can save him!  He flees the battlefield.  With his leader gone, the last mobster decides there is no point in fighting on and follows in the rout.


Turn 17: Victory!  King Roland forms a rearguard.
 Victory to Belle!

It was a hard-fought battle.  Gaston could have attempted to exit from any spot on his board edge...but since he had originally crossed the river, I reasoned that he would want to recross it (and rivers generally discourage pursuit). King Roland was a combat machine.  His 2 Attacks (and a few Might points) allowed him to wreak havoc on the mob. I probably should have stuck Gaston into the fight, as he had a strong profile, rather than tying him up carrying Prince Adam.

Sunday, April 5, 2020

Through the Woods (Legends of the High Seas)

"Gaston?"
"Ha!  You thought I died!"

"Since France allied with the colonies, we have powerful friends."


"So do I.  Experienced hunters are much in demand during this quarrel between England and her colonies...and the British pay in gold!"


With no way to outfight Gaston, Belle and Prince Adam must escape from him.


This view shows the terrain that Belle and Prince Adam must cross to exit off Gaston's side of the table.  These are their victory conditions; Gaston wins by killing both Prince Adam and Belle.

For the first four turns, Prince Adam and Belle won priority, enabling them to advance across the board and use the forest for cover.  They stuck fairly near each other, as Gaston has a higher Fight value and could pick them off if they separated.
Priority then went to Gaston for Turns 5 and 6, enabling him to close with them.  Belle and Prince Adam regained Priority for Turn 7--only to make a major blunder.  Prince Adam advanced (unsupported) within charge range of Gaston.  Gaston promptly charged him, won the fight, and demolished Prince Adam's defense to lay him low.

Victory for Belle was now impossible, but she could still force a draw.  Gaston won priority for the next two turns, but Belle kept just out of his reach by leaving the forest and moving across the open road.  With her movement distance doubled (vs. slogging through the forest), Gaston would have to move quickly for victory.

But priority was won by Belle on Turn 10, who proceeded toward the board edge.  In the two remaining turns, Gaston attempted to close the gap, but Belle safely exited the board.

Neither side entirely fulfilled their victory conditions.  Since Belle did escape, I would call it a marginal victory for her.


Prince Adam was not killed.  Instead, he was stunned and left by Gaston, but quickly came to and disappeared before Gaston could return.  He and Belle are sure to have more adventures...once they are reunited.


(This was my first solo playthrough for Warhammer Historical's Legends of the High Seas ruleset.  The rules are easy to understand but allow for complexity.)

Monday, November 18, 2019

Skirmish at Turnbull's Farm

From Lieutenant Francis Monypenny, 2nd Pennsylvania Regiment
To Col. Walter Stewart, 2nd Pennsylvania Regiment

Dear Sir,

Your orders of the 3rd instant were punctually observed by Capt. Duckworth & myself.  Whilst ranging the countryside in search of the enemy's movements, we had a smart skirmish near Turnbull's Farm.

Both of Capt. Duckworth's light infantry companies, a company of militia, and the troops of our ally Louis XVI met the enemy in the clearing near Turnbull's Farm.

The enemy were one grenadier and one battalion company of the 80th Regiment, as well as the banditti of Col. Tarleton's corps.  The whole was commanded by Captain Phillips, whose daughter Sarah (as you may well remember) was arrested for her imprudently expressed opinions on our glorious Congress.  Captain Duckworth was tasked with escorting her to the court house for inquiry.

I was thankful to know that Capt. Phillips commanded the advance guard of the enemy, for a spy has indicated clear signs of disaffection within his company.  They said that their lives would not be sacrificed to find his daughter.  To regain his former popularity, he would have to take an active part in the coming fighting as a member of the advance guard, rather than remaining comfortably with the main army.

Both sides moved cautiously through the woods.  First blood went to the Gatenois Regiment, who killed one of Tarleton's troopers with a long-range volley.  The steady discipline of our French allies (as well as their superior quality powder) is something which should be introduced to more of our army.

In the confusion of our march, Sarah Phillips escaped.  However, Captain Duckworth retook her.

The battalion company of the 80th Regiment decimated the new-raised light infantry company with a volley.

As the smoke mounted, reinforcements entered the battle.  We received one company of the 2nd Pennsylvania Regiment.  On the other side, the Volunteers of Ireland entered.

Musketry near the cornfield caused no casualties, but Captain Phillips shot one light infantryman with his pistol.

The 80th fired at a unit of militia moving through the woods and caused one casualty.

The light infantry's volley hit one British grenadier.

The French Regiment Gatenois continued to hold the center of our line, causing a casualty in the Volunteers of Ireland.

A second company of the 2nd Pennsylvania appeared to reinforce the Americans, commanded by your humble servant.

Captain Duckworth ordered his light infantry to storm the fence and fight the grenadiers hand-to-hand.  How much has changed since we ran from crossing bayonets with the feared grenadiers!  But success frowned on the captain, as he lost his entire company for the loss of one grenadier.  I am assured by militia standing nearby that Captain Phillips himself killed two of our men with his sword.


The nearby militia returned fire and killed two grenadiers.

Tarleton's cavalry rashly charges the same militia...and is wiped out to a man with a well-timed and disciplined volley.  I salute the county lieutenants whose untiring efforts sent us these militia.  Their discipline was remarkable.

The light infantry on our left inflicts one casualty on the 80th Regiment.  This causes them to fall back in considerable disorder.  I move my company up and order a volley into the disorganized rabble, who rout and will take no more part in the fighting.


Our French allies of Regiment Gatenois continues their steadfast performance, causing two more casualties in the Volunteers of Ireland.  It is said that they were once the proud Regiment Auvergne, and truly they proved themselves worthy of the title.  Shaken by the flight of the 80th, the Volunteers rout as well.

Worse was to befall the British, for Captain Phillips is caught outside the cornfield by a volley from the 2nd Pennsylvania's.  He falls, likely unaware that his daughter has finally succeeded in freeing herself from captivity.

All of the American units now converge on the grenadiers defending the cornfield.  The grenadiers decide that their honor is still intact and withdraw off the field, carrying the body of their captain.

British casualties are 14 men, including Capt. Phillips; American casualties, 12.  Half of the British force did not even enter the battle.

As you requested, I remained out of the line of sight of the British force, for matters of a delicate nature precluded meeting them hand-to-hand on the field of Mars.  Some of my men believe that the enemy may have sighted me, but no one is certain.

Reports are current that Lieutenant Fenworthy, whose father is a well-known Radical in Parliament, commanded a company of the 80th Regiment which was late in arriving to the battle.  Common report says that Fenworthy has been heard to express some sympathy with our glorious cause of liberty and did not wish to kill any to further the schemes of Lord Germain and Lord North.

Requesting your orders for future dispositions of the advance guard,
I remain, Sir, your most obedient & humble servant,
Lieutenant Francis Monypenny. 2nd Pennsylvania Regt.
Sarah Phillips escaped...

Rule set: Muskets & Tomahawks.  Each side had two officers with a side plot apiece.  The side plots added a very nice touch of storyline to a skirmish game.  It is not hard to work the side plots into cohesive characterization of the officers.  Look for more adventures from them...

Captain Duckworth: Side plot: Hostage.  Failed, Sarah Phillips escaped.

Lieutenant Monypenny: Side plot: Spy.  Uncertain if succeeded, came very near the maximum spotting distance of the 80th Regiment.

Captain Phillips: Side plot: Disdained.  Succeeded, killed the equivalent of 5 enemy soldiers.

Lieutenant Fenworthy: Side plot: They were my brothers.  Succeeded, never entered the battle.

Tuesday, October 9, 2018

Beyond the Mask Skirmish Game Part II

After stealing important documents from Will Reynolds (see http://redcoatsandruffles.blogspot.com/2018/09/beyond-mask-skirmish-game.html), Joshua Brand made his way to EIC headquarters to deliver the documents to his boss Charles Kemp.

Fearing that the other EIC operatives would double-cross him, Brand determined to exit the board with the documents himself (this was his victory condition).  The EIC had to take the documents from Mr. Brand to prevent any possibility of blackmail.  And unknown to both parties, Will Reynolds had survived his thrashing and was eager to recover these documents as well.  The first group to take the documents off the board would fulfil their victory conditions and win.  An unusual three-way fight was on!


The ruleset was (again) Eureka Miniatures' "And One for All"--but with a twist.  The three units were activated by drawing cards, adding an element of unpredictability.

Mr. Brand started in the forest, Will Reynolds sheltered in a cornfield, and the EIC marched down the road.

The game began with a run of EIC cards, allowing them to block the crossroads.  Mr. Brand crossed the road to the forest in the foreground of the picture, while Will made his way through the cornfield.

First contact was made by the EIC, who patrolled aggressively.  Their swordsman caught Mr. Brand in the forest and forced him into a duel.  Both sides cut and thrust at each other.  Mr. Brand retreated, only to run into Will Reynolds, who had exited the cornfield.  After a duel between the two, the EIC moved in to finish the job.  Mr. Brand was down. 

Their operative searched him for documents.  No luck (he muffed his roll; any number but a 1!).  Will searched and still could not find them.  The next turn saw the EIC locate the documents and begin to escape.

Recklessly, Will charged at the EIC soldier.  He hoped that he was weakened by his combats (as he was).  But it was not nearly enough.  The EIC prevailed against their other opponent without too much trouble.

Now that the EIC had recovered their documents, they marched triumphantly back to their boss to announce that they had successfully completed their mission.


Or had they?


(My notes: Despite the somewhat one-sided nature of the report, the game was actually fairly close.  The game could have gone any way, though Mr. Brand would have had an uphill battle.  Will was crippled by 1. his inability to find the documents and 2. his decision to charge the EIC soldier.  It was a worthwhile gamble, but did not pay off.)

Wednesday, September 19, 2018

Beyond the Mask Skirmish Game

"I have the Parliamentary report...you negotiate the deal with him, and I will split the amount with you."

In the movie Beyond the Mask, the main character, Will Reynolds, has to fight off a blackmailer named Joshua Brand intent on stealing important documents.  I recreated this scene using my collection of figures and a free ruleset from Eureka Miniatures called "And One for All!" (available at http://www.eurekamin.com.au/andoneforall.php)

The beginning of the action
The picture shows the starting positions.  Will is on the left, Mr. Brand on the right.  There is an interesting array of objects to interact with.  In the game, a figure can throw or roll an object or duel to eliminate its opponent.  Six hits and you're out!

The game began well for Mr. Brand, who quickly inflicted two hits on Will.  Will then proceeded to dominate, alternating dueling and flinging objects.  Stools and benches were flying across the room, including some pieces that traveled the length of the room two or three times.  (What kind of indestructible furniture is that?)

Victory to Mr. Brand!
As the game neared its close, Will had inflicted five hits on Mr. Brand in exchange for only three.  The game looked pretty well up for Mr. Brand.  Rather than duel and possibly lose his one remaining hit, Mr. Brand threw a bench at Will to soften him up a little.  The results were astounding: Mr. Brand rolled triple-6 on his damage roll.  Will could not fend off any of these, so Mr. Brand scored three hits.  This abruptly knocked Will out of the game, and Mr. Brand had won in an upset victory!

After his victory, Mr. Brand collected the documents and moved out of the building.  He would link up with other East India Company forces in the area and deliver the documents to his boss Charles Kemp.


As he left, Joshua Brand did not realize

that his opponent Will Reynolds

had not been killed in the fight

and would return

to fight again

Stay tuned for more action!