Wednesday, October 7, 2020

Attempted Assassination (Legends of the High Seas AAR)


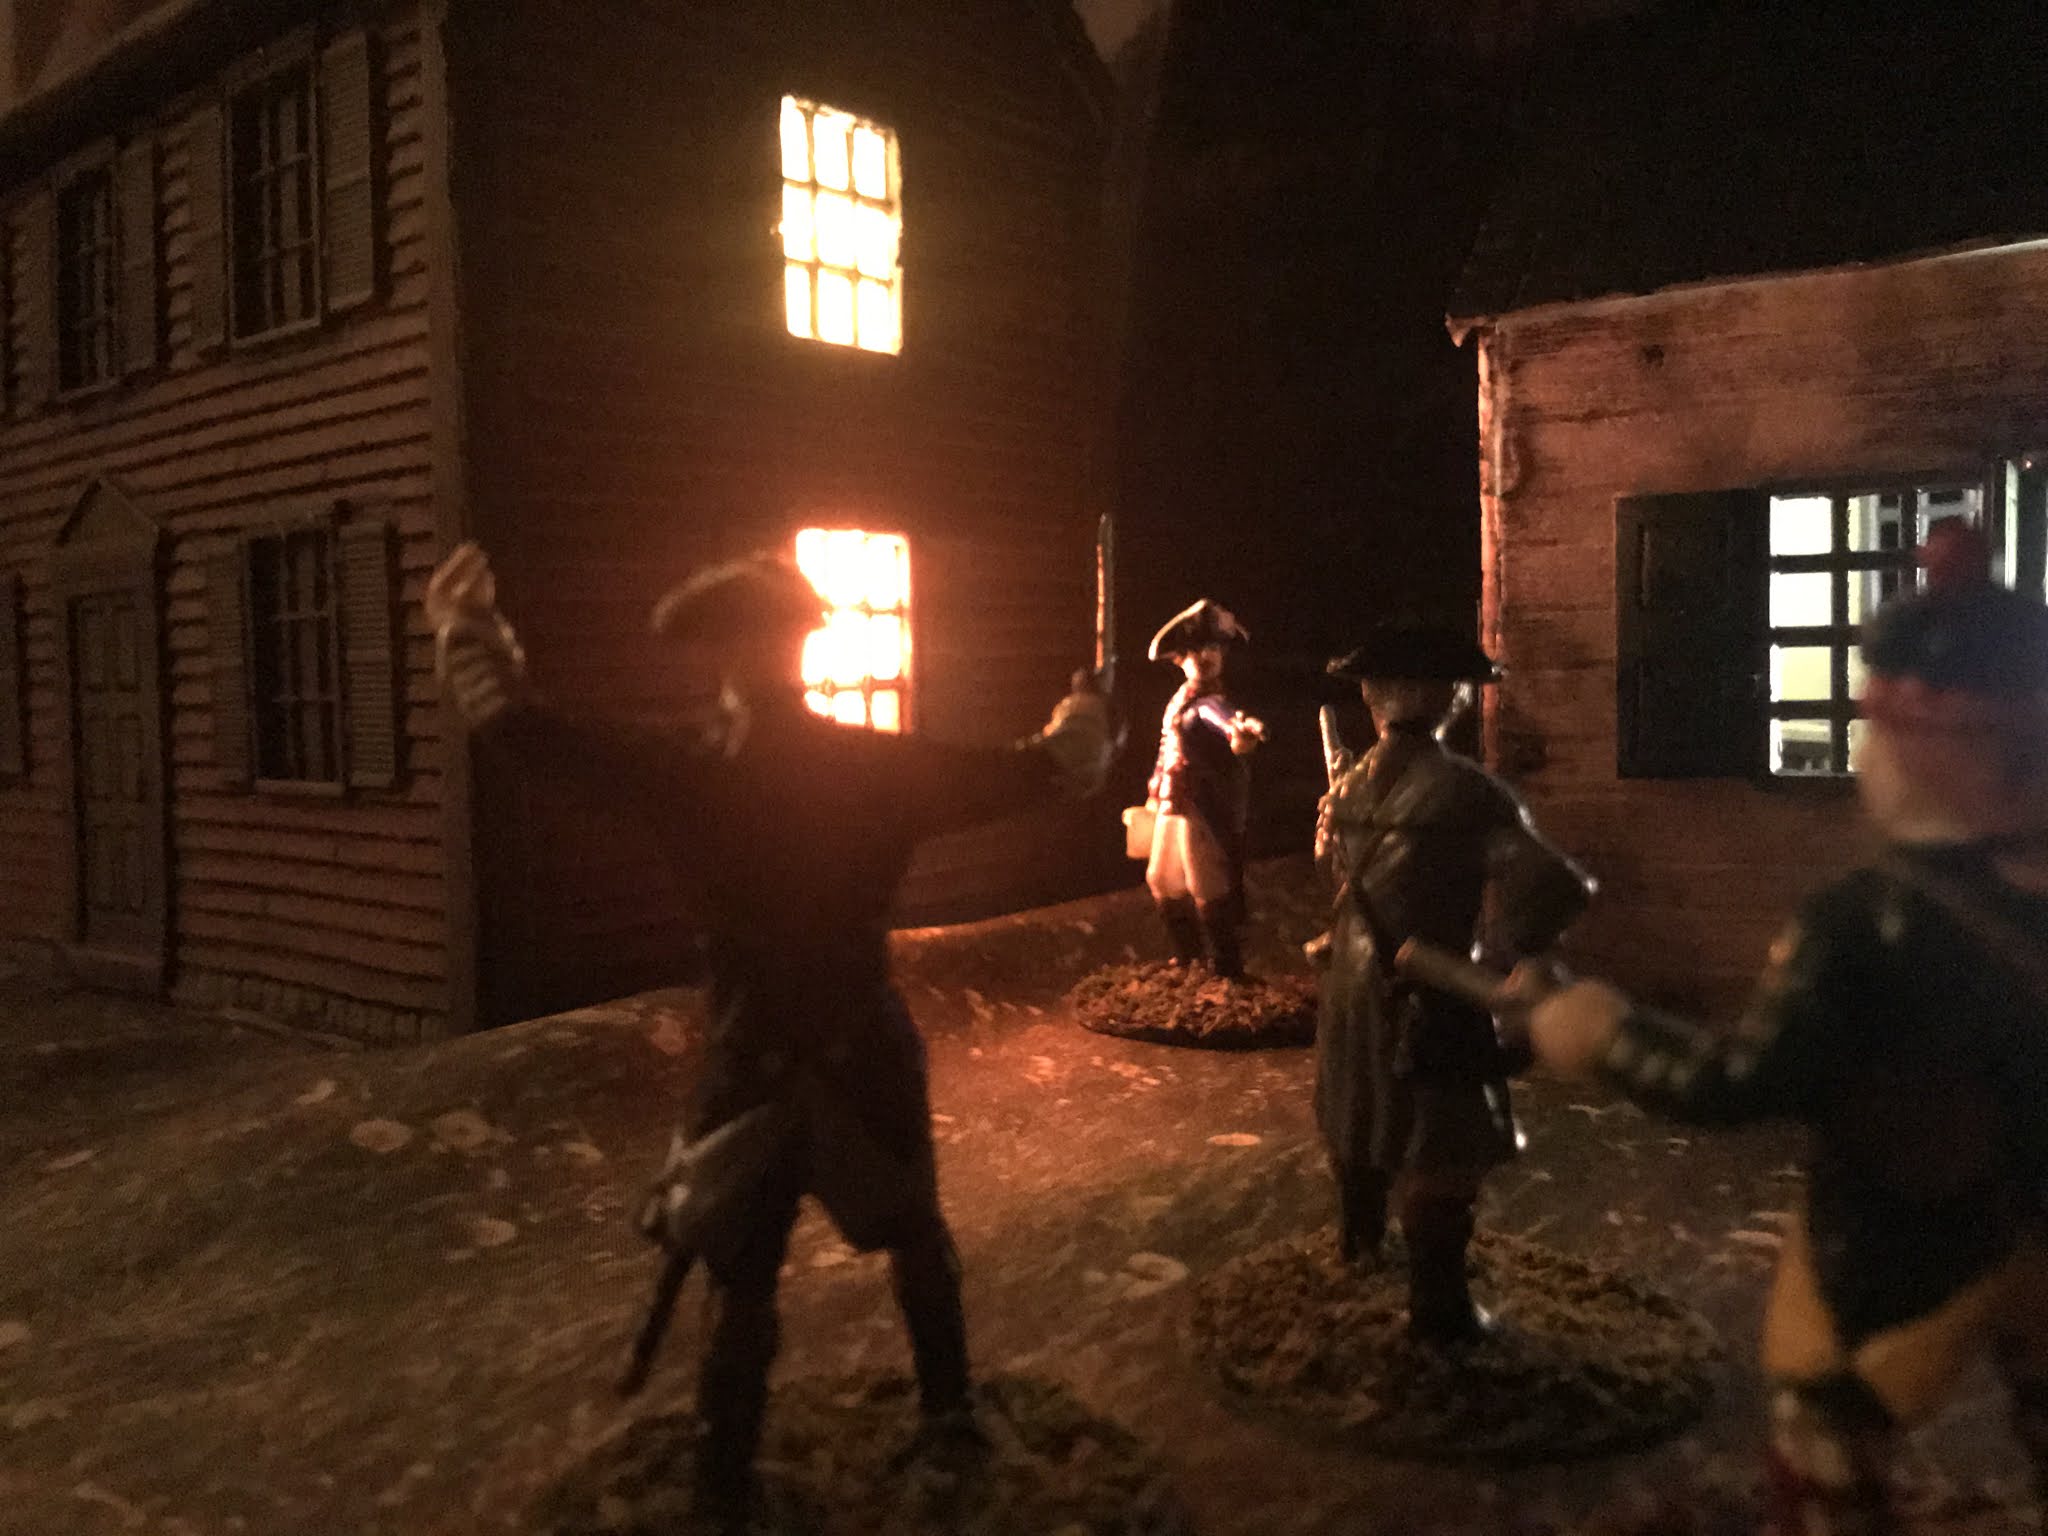
The 27th ult. [Editor's Note: Ult. means last month] Lieutenant Francis Merryman a defender of that celestial jewel LIBERTY survived an attack by those serpents in your midst, the TORIES.  As he returned to his lodging-house in town, he was set upon by three of those miserable miscreants.  He emptied the contents of his pistol into Mr. Richard Harrison, a notable landowner and Tory, who fell. 

Lieutenant Merryman withdrew into a nearby house, where he then shot another of his assailants.  Information just received suggests he may have been connected to that all-devouring HYDRA, the EAST-INDIA COMPANY.

The last man, a Highlander, assailed him with his broadsword and pistol.  He fought mightily but was not able to prevail against Lieutenant Merryman, who finally cut him down.


O ye friends of LIBERTY, are your wits so besotted as to allow these vipers, these TORIES, to spring up within your midst?  Gird on the implements of MARS and show these craven TORIES that the RIGHTS and LIBERTIES of AMERICA are not to be trampled by monarchs and base hirelings.


James Hiller, correspondent of the Pennsylvania Gazette


(Ruleset: Legends of the High Seas.  I tried a similar small-scale game with Muskets and Tomahawks which was a complete disaster.  Legends of the High Seas handled it very well, despite being designed for slightly larger skirmishes.  I look forward to trying other small-scale encounters with it.)

Friday, September 18, 2020

Enchancia Royal Guard

"For the kingdom we must fight,

for in us they place their trust.

For one and all,

We're standing tall!"

(unofficial anthem of the Enchancia Royal Guard)


This private sentinel is a member of the Enchancia Royal Guard, charged with protecting King Roland, Queen Miranda, and their three children Sofia, Amber, and James.


Enchancia appears to have three different guard companies: one in red uniforms, one in black uniforms, and one in yellow coats with hussar busbies.  Their different roles are unknown.  However, the Red company appears to be the closest to the royal family, protecting King Roland as he goes to the village shoemaker's, and guarding his new daughter Sofia on her journey to the palace.  Perhaps they are a small unit of internal palace guards.  


His uniform consists of a dark red coat with light red lapels and cuffs, liberally embellished with gold lace.  A white waistcoat, light blue breeches and red cap complete it.  It is possible that (like many 18th Century units) the Enchancia Royal Guards swap their boots for high gaiters when serving dismounted.


This private has already been blooded in action (http://redcoatsandruffles.blogspot.com/2020/09/saving-prince-adam-legends-of-high-seas.html).  He did not succeed in accomplishing anything besides actually firing his musket, (which is more than Mr. Brand can say).  But, he has received his baptism of fire.


Figure by BMC with heavy sculpting. This side-by-side comparison photo shows the original screenshot alongside the figure.

Wednesday, September 2, 2020

Saving Prince Adam (Legends of the High Seas AAR)

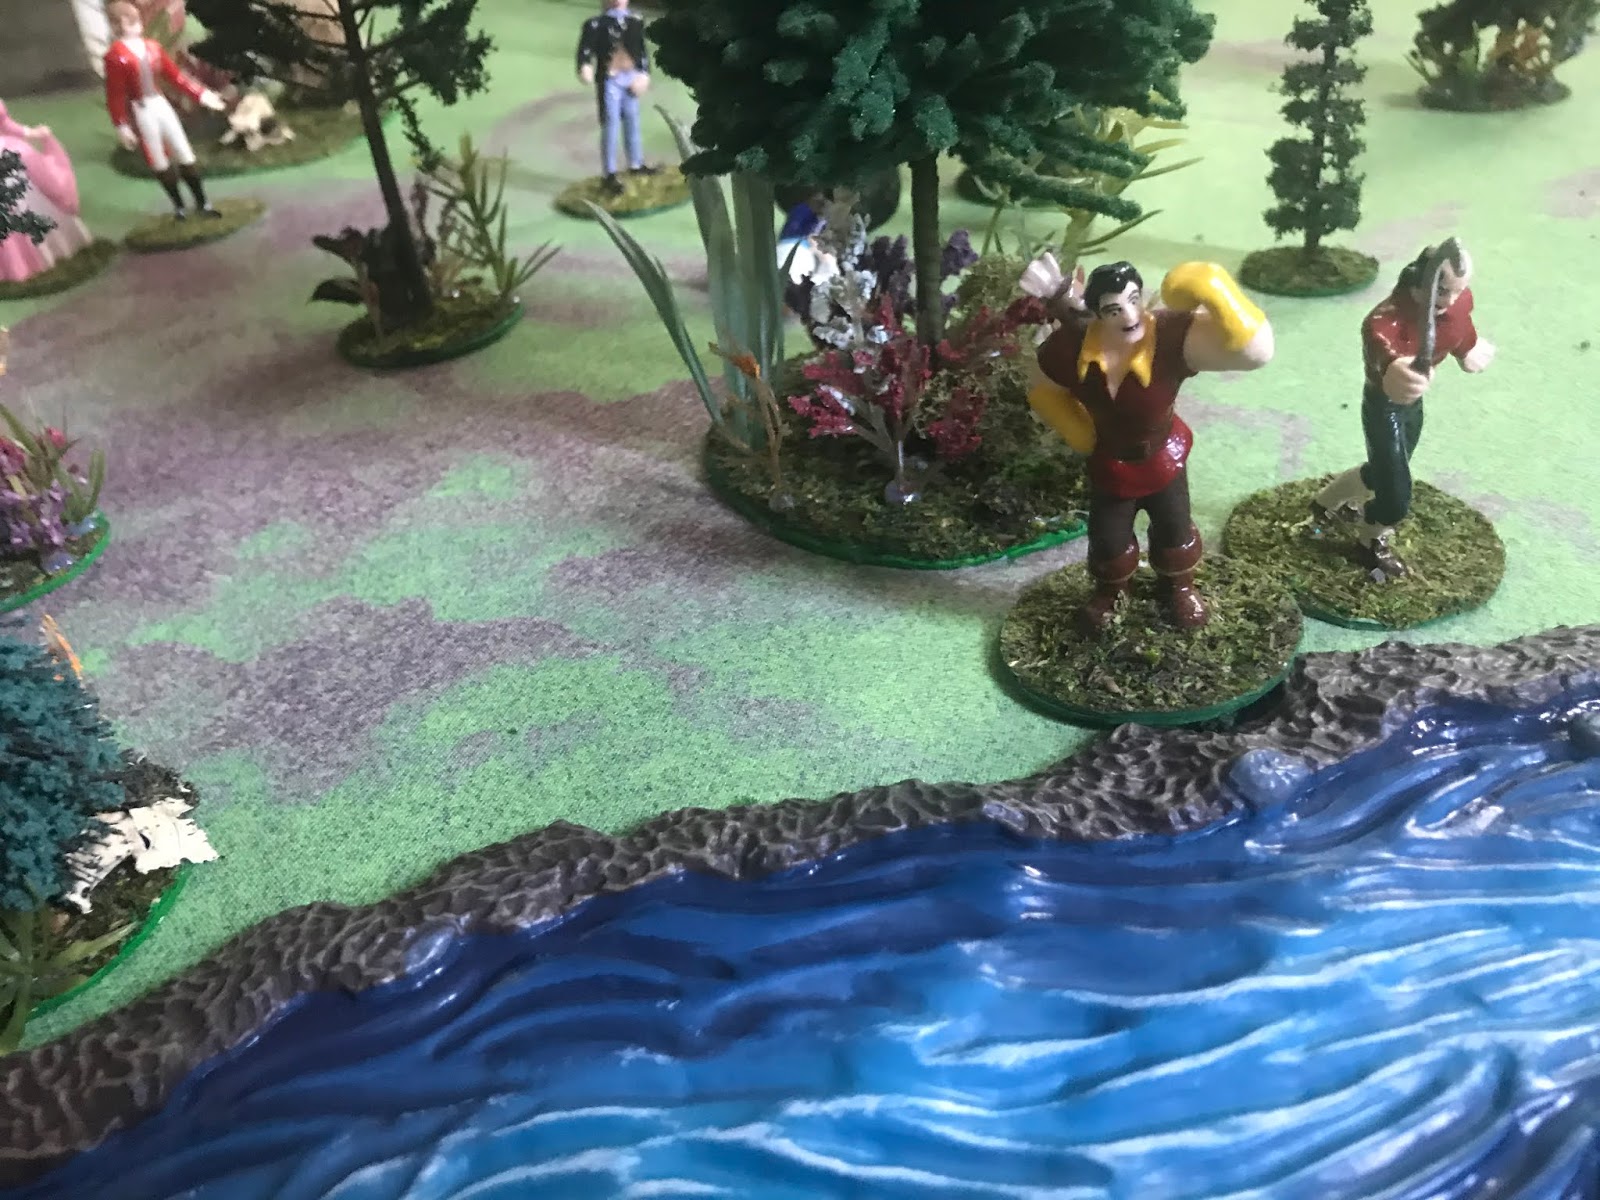
When Belle and Adam attempted to escape through the woods, Prince Adam was struck by Gaston and left for dead. (See http://redcoatsandruffles.blogspot.com/2020/04/through-woods-legends-of-high-seas.html)  Belle convinced King Roland II of Enchancia to lead a search party to recover Prince Adam.  Unknown to them, Gaston intended to find Prince Adam too...

Roland's force consisted of (from left to right) Royal Guard (Militia), Baileywick (Steward), King Roland (Governor), Sir Bartleby (Militia), Queen Miranda (Steward), and Belle (Damsel).

Gaston's force contained himself (Pirate Captain), 7 mob (Pirate Rogues), and hired gun Mr. Brand (Bounty Hunter).

Scenario was "X Marks the Spot" from Legends of the High Seas.  For solo play, I used a modified system found at http://davetownsend.org/Battles/LotR-20171221/.  Every time a marker is revealed, a dice is rolled.  On a 6, (or if the marker is the last one remaining), it is revealed to be the objective.

"Not here"


The first three turns had both sides make progress across the board.  In turn 4, King Roland revealed one objective: a decoy.  Turns 5, 6, and 7 showed all markers.  Gaston found Prince Adam first and began to drag him away!

Turn 7: Prince Adam is found and battle is about to begin!

In turn 8, hired gun Mr. Brand sniped at King Roland.  Unfortunately his pistol jams rather than firing.

Turn 9 sees the beginning of combat, as King Roland dispatches a mobster with club.


Turn 10 opens with Roland in Brand's sights, but his gun jams again.  Mr. Brand needs to "visit" whoever sold him such disgraceful armament or powder!  Baileywick is wounded by an axe-wielding mob who hews him with a cleaving stroke...but is saved by a lucky break.
Turn 10 and another jam!


On turn 11, Mr. Brand clears the jam in his pistol and Roland dispatches another mob member.


Turn 12 sees everyone into battle, except Gaston and his crony who are busily carrying Adam away.  The Enchancia Royal Guard takes a potshot at Gaston and misses.  In combat, Sir Bartleby falls and a shovel slashes at Queen Miranda, but it is not her fate to die now.


Turn 13.  Both mob casualties are the result of King Roland.


By Turn 13, only Baileywick is close enough to begin hunting down Gaston.  Roland charges to tie up the axe-wielding mobster, the only character who could intercept Baileywick.  Roland wins the combat, but only rolls a 3 to wound.  He uses 2 Might points to boost his roll and dispatch his opponent.  Another mobster (who looks suspiciously like James Hiller) retaliates by killing the Royal Guard, despite being outnumbered 2:1.

Turn 14: Is King Roland exposed to a flank attack next turn?
Turn 14, and Gaston's mob pitches in to their opponents.  Rogue James falls in his turn to Belle and Queen Miranda.  Way to go, ladies!  While he is the only casualty, this creates a threat to Gaston: his force must now take Rout tests because they have been reduced to 50% strength.


Turn 15: No attack!  Roland's opponents ignominiously run!
And the Rout tests begin in Turn 15.  Gaston passes, so his companion does automatically.  But Mr. Brand and the shovel-wielding mob turn tail and run.  Probably Mr. Brand is disconcerted by the repeated failure of his pistol.  Gaston's entire shield has dissolved, but he has a good lead to crossing the river and victory.


Turn 17: Biceps to spare...but not Might points! Run!
Gaston passes his Rout test again on Turn 16 as he edges his way toward the river and victory.  If he can cross it and exit, he will claim victory.  Everyone else is following them, but only Baileywick and King Roland are near enough.

On Turn 17, Gaston finally looks around the battlefield to see himself abandoned.  He rolls for his Rout test and rolls a "2".  Not even his might points can save him!  He flees the battlefield.  With his leader gone, the last mobster decides there is no point in fighting on and follows in the rout.


Turn 17: Victory!  King Roland forms a rearguard.
 Victory to Belle!

It was a hard-fought battle.  Gaston could have attempted to exit from any spot on his board edge...but since he had originally crossed the river, I reasoned that he would want to recross it (and rivers generally discourage pursuit). King Roland was a combat machine.  His 2 Attacks (and a few Might points) allowed him to wreak havoc on the mob. I probably should have stuck Gaston into the fight, as he had a strong profile, rather than tying him up carrying Prince Adam.
Sunday, August 23, 2020

43rd Regiment of Foot


The 43rd Regiment had a very long service history in North America during the American Revolution.  Its light infantry company was a part of Pitcairn’s expedition against Concord in 1775 and the entire regiment participated in the battle of Bunker Hill.  In 1776, the 43rd participated in the Long Island expedition.  The regiment then spent a few years garrisoning Newport, Rhode Island, where they defended it against a joint French-American attack.

2 units of Dundas's Brigade.  1 more to go...
General Sir Henry Clinton evacuated Newport, bringing the 43rd back to New York.  They remained in garrison in New York until April 1781, when they were sent to reinforce General Cornwallis' army in Virginia.  They arrived in Virginia just in time to play a major part in the battle of Green Spring (July 6, 1781).  As a part of Colonel Dundas's brigade, they ambushed Anthony Wayne's advance and inflicted heavy casualties on his brigade of Pennsylvanians (including the 2nd Pennsylvania http://redcoatsandruffles.blogspot.com/2016/04/2nd-pennsylvania-regiment-by-armies-in.html).


Of course the 43rd followed Cornwallis to Yorktown, where they were forced to surrender on October 19, 1781.  At the end of the siege, Banastre Tarleton records 1 captain and 11 rank and file of the 43rd missing, along with 10 killed and 18 wounded. [1]
At Yorktown, the 43rd Regiment also surrendered its King's and Regimental colours to the Americans, the most senior regiment to do so.  The 17th, 23rd, and 33rd colours disappeared.  Tradition speaks of the escape of the 23rd and 33rd colours, but is silent on the 17th.


Commodore Norrington (find him at http://redcoatsandruffles.blogspot.com/2019/12/commodore-james-norrington.html) begs leave to mention that these soldiers can also be placed under his command as a unit of marines.  No pirates or rebels will be able to stand before them!  He is disappointed, however, that these brave soldiers have not been granted the coveted title of "Royal Marines".  (This will happen in 1799, Commodore Norrington, so keep your chin up!) 

What does Norrington think of campaign uniforms?
Figures by Accurate (British Infantry Set #2 ) and A Call to Arms (American Maryland Infantry https://www.michtoy.com/item-CTA-010-Maryland_Infantry.html).  Both mix very well together.  Since the figures from Accurate had a mix of legwear (high gaiters and half-gaiters) and accoutrements sculpted, I decided to represent a slightly more "campaign" unit than the 80th.  Some have their hats cocked on one side, and some wear gaiter-trousers.  Painted with a mix of enamel and acrylic paints.

Notes
[1] History of the Campaigns in the Southern Provinces.  Banastre Tarleton.  https://archive.org/details/historyofcampaig00tarl/page/n477/mode/2up

Thursday, July 30, 2020

Queen's Ranger Officer

"When did the rebels pass this way, madam?"
With the Queen's Rangers' recruiting drive kicking into high gear, they needed an officer in dapper uniform to attract likely lads...or intimidate rebel sympathizers...or charm those with valuable information.


This gentleman fills that role.  He began as one of BMC's artillery crewmen brandishing a sword while firing a pistol.

I often mention the steps involved in converting a figure, but a picture is worth a thousand words.  The original figure was cast in blue, and everything that is white on him was sculpted in Milliput.

His uniform is worth noting in some detail.  There are four known portraits illustrating Queen's Rangers officers' uniforms (Colonel Simcoe, Captain Saunders, Cornet Jarvis, and Ensign Smith) along with Cornet Jarvis's coat.  Two portraits of them (Saunders and Jarvis) show short V-shaped cuffs with herringbone lace.  Colonel Simcoe's unfortunately does not allow us to see his cuffs.  Ensign Smith's portrait shows round cuffs and buttonhole lace on the cuffs.

Captain Saunders [1] and Cornet Jarvis [2] both held commissions in the cavalry of the Queen's Rangers, while Smith held one in the infantry [3].  Their cuffs would then match standard British practice: V-shaped for cavalry and round for infantry.

It is true that Ensign Smith's portrait does not show an officer's sash, but there is one associated with Cornet Jarvis's coat.  I opted to add one to my figure.


"Open that door!"

Proudly wearing the green coat of the Queen's Rangers, this officer is ready to chastise the rebels!


Notes
This section is greatly indebted to Dr. Gregory Urwin for collecting all known portraits of the Queen's Rangers and the branch of service in which each of them held commissions.

[1] pg. 174. History of the Queen's Rangers by James Hannay, DCL. (Ottawa: Royal Society of Canada, 1909).  Online. https://archive.org/details/historyofqueensr00hannuoft/page/174/mode/2up.

[2] pg. 186, ibid. https://archive.org/details/historyofqueensr00hannuoft/page/186/mode/2up. The fact that he was commissioned a cornet also shows that he served in the cavalry.

[3] pg. 171, ibid. https://archive.org/details/historyofqueensr00hannuoft/page/171/mode/2up.

Saturday, July 4, 2020

Independence Day

Happy Independence Day from Redcoats and Ruffles!

Some of the residents of Redcoats and Ruffles listen to the town crier read the news of the Declaration of Independence.  “We hold these truths to be self-evident, that all men are created equal, that they are endowed by their Creator with certain inalienable rights.  That among these are life, liberty, and the pursuit of happiness.”

Sunday, June 14, 2020

Fun with Flowers

My sister was clearing out her floral arranging supplies recently and asked if I could use any of it.  I remembered some helpful advice from a diorama maker featured in King & Country's Collector Magazine: "Guy says his one 'golden rule' for collectors wanting to build their own displays and vignettes is... 'Think twice before you throw anything away...you might just need it sometime!'" (King & Country Collector Magazine, Issue #25, Winter 2009.  Available at https://www.kingandcountry.com/collector-magazine/)

Needless to say, a sizable amount of her flowery discards were added to my stash. They proved to be very versatile.

Some flowers can be cut into shrubby plants and types of ground cover.  The trees in this picture show this use for flowers.  Just about every tree now has a base covered with plants and bushes of this type.


The stalks of multiple flowers together on the same stem (called floral bushes), make interesting and textured tree trunks, when stripped of leaves and flowers.  I glued them together to create a log pile.  Unfortunately, these were all that I had and my pile is rather small.


Johnny Tremain may be glad that the logs have been delivered pre-cut, saving him the trouble of going to the forest and cutting them himself.

Some flowers are attached to the stem by plastic pipes.  When cut, these pipes resemble the shape of a bottle.  Gluing together six of them produced a nice effect of clustered bottles.  They were painted with Testors enamel and coated in old nail polish to give them a bit more gloss.

I hope that you enjoyed this little tour through a few uses of floral arranging supplies as miniature scenery.  It is worth mentioning that many of these supplies (such as small flower pieces and "log" stems) can be discarded by floral arrangers who do not need them for their projects.  This creates a nice synergy...and makes sure nothing goes to waste!

All scenery is shown with 54mm figures.  It could be used with other sizes as well (the floral stem logs would be quite formidable next to 28mm figures, for example).